Saturday, November 17, 2012

Back to the Raised Roof!

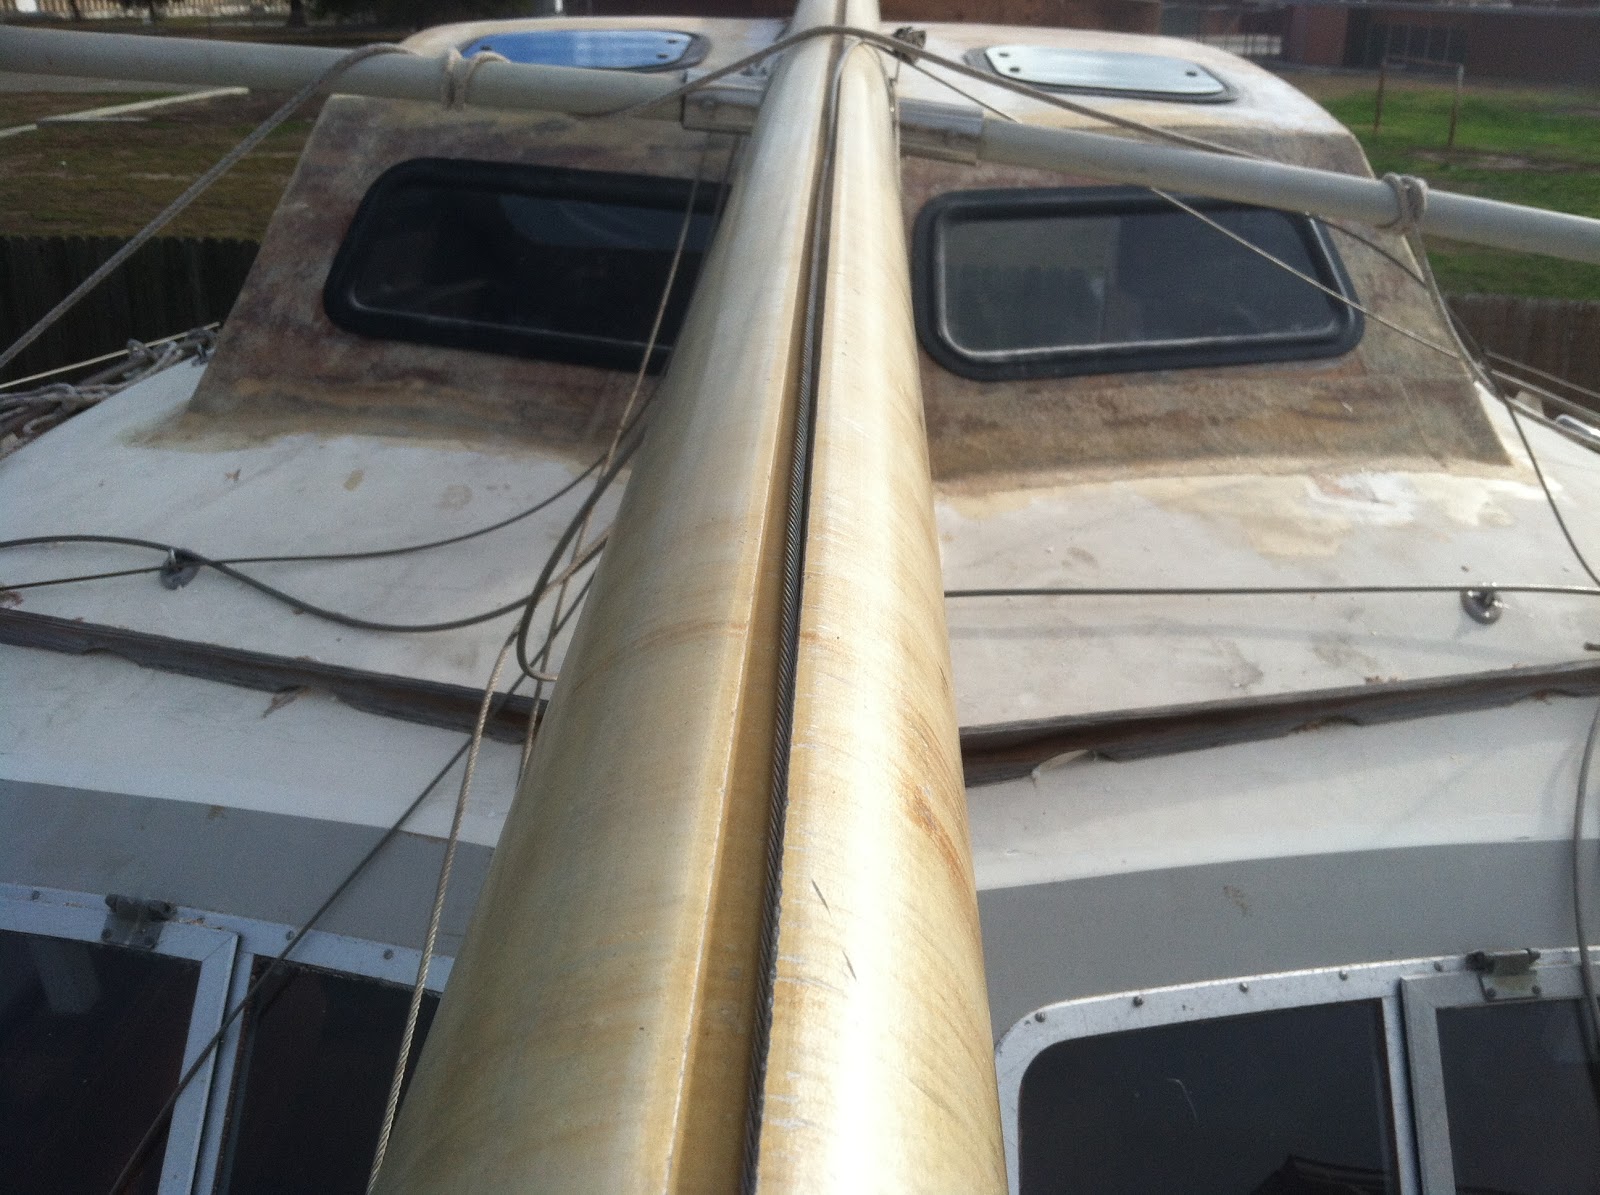
Spent today cutting out the windows in the raised cabin.


That really opens things up a bit!


Windows dry fit. As seen from the helm.


Step back a bit.


Roof hatch will open to port for cross ventilation.


Other hatch to open toward starboard.


I am a little more pleased with the aesthetics as the windows reduce the mass of the raised roof.


Now back to fiberglassing! :(

Saturday, November 10, 2012

Relocating Gas Tank (and Other Stuff)

I spent today relocating the gas tank.  All the usual hiccups, but all in all a good day.


I used my multifunction tool to cut out 1" square from the transom.  If you recall, I have the 1" "receiving squares" already cut out in the back to the Outboard enclosure.


The 1" square aluminum tubing is "embedded" on each end by 1"


.

This is the other side of the transom, On the left is where I glassed in a 3/4" piece of wood for added support and to carry the load to the floor.  On the right you can see the middle tube resting on the existing 1/2" thick divider wall.


And the Port side.  You can see that the thickness of the tube is pretty good.


Shot from above.  I hung from one of those bars with my full weight and it felt pretty strong.  The tank holds 24 gallons or approximately 150 lbs of weight.  The aluminum tubes were placed to carry an equal amount of weight or 50 lbs each.  Unless I am going to Catalina, I don't plan on carrying more than a half a tank at a time.


Here is where the tank was located in the port aft storage area.  Hopefully moving it forward a bit and with the weight evenly distributed port to starboard, will provide some improvement.


Hey...it fits!

This is a shot with the starboard lid removed.  Hmmm, this is my first challenge of the day!


From the other side looking forward.


My solution was to cut the fill tube flush and then insert the gas fill.  It is a nice tight fit and I will push it all the way flush once I decide what type of adhesive to place in between.  I also did the same to the air vent tube and inserted a 5/8" air vent.  The supply tube in the back should be okay since it clears the side of the lid.


I wanted to show some clearance pictures as the outboard is lifted until it touches the under side of the back of the outboard enclosure.

With the outboard in this position, the cowl hits the lids and raises them about 1 to 2 inches.


The bottom of the outboard is about 1 to 2" above the bottom paint.  I am thinking that the boat will float a little higher than that paint line, so once I put her in the water, I will see how high I will actually need to raise the outboard to be out of the water.

Worst case, is I can trim a piece of the cowl off, since there is dead space in the top back of the cowl.


And here is the clearance between the Tilt/Trim and the gas tank support with the outboard in the raised position.


Now for some Side Projects


I scored 2 stern rails from Minney's this week.  They fit pretty darn good and ready for a strern seat at each corner.


As a reminder, the area between the outboard enclosure and the beam will be fitted with a swim step.  I am likely going to make it out of recycled plastic lumber.


I am going to have to create some shims under the stanchion bases, since they are angled.


Same here.


And another Project.


I started building the form for the "Swell Protection" This is what will deflect swells from impacting the hanging Tilt/Trim.  This picture shows the form oriented correctly so the top of the form is the area that will be tabbed to the bottom of the deck.


Another shot showing a swoop inward in an effort to better bisect the wave.


I am taking Thanksgiving week off from work and hope to make some progress on cutting in the windows for the raised cabin and sorting out the helm area.  Here is a sneak peek of my design of the helm area.


Happy Thanksgiving!


Sunday, November 4, 2012

Outboard Enclosure-Part 3

Pulled the 3 lids out of the mold today.


Here is the mold.  I finally got smart and used caulk in the corners to create a rounded edge.


After 2 layers of mat and 2 layers of fabric, alternating between each layer.
This does not create a structural lid.  I will likely add strips of wood fore and aft to accept hinges and latch.  Likely add stringers and more mat.  People are likely going to walk on it.


The lids were actually too tight to fit.  I ended up cutting about 1/4 inch out of the middle of the middle lid and rejoined it together.


This is shaping up quite nicely.  Although a lot of fairing in my future!


The lids are approximately 24" wide each.  Should be enough to access the outboards and the fuel tank.


I think I will tackle moving the fuel tank next.  Looking forward to taking Thanksgiving week off from work so I can make more progress.

Saturday, October 27, 2012

Outboard Enclosure-Part 2

Continuing with the back of the Outboard Enclosure.


Here is the back in its form.  Again using 2 layers of mat and 2 layers of fabric alternating between the two.


Added wood for structural support.  The 3 square notches will accept 1" square tubing, which will in turn support the fuel tank.


Squeezed into place.  Three lag screws were placed from inside the hull out into the wood structure.  Also tabbed the back of the enclosure to the two sides with one layer of mat and one layer of fabric on the inside.


The motors clear the back by less than half an inch when tilted upward! Yikes.

I will fill in the gap between the back of the enclosure and the hull beam with a swim step.


From the opposite side.


Close up showing wood fiberglassed in.  The fiberglass was "x"ed out at the 1" squares.  Actually the holes are about 1 1/4" square so that when the fiberglass is folded inward, it will make for a tight fit around the 1" square aluminum tube.


A Side Project

A couple of shots of filling in the holes left by removing the outboard controls.  They will be relocated at the new helm station.  Unfortunately, I was unable to neatly remove them due to seized bolts etc, so the holes left are bigger than necessary.

 
For the backing, I used a piece of melamine board wrapped with a piece of 7 oz fabric and screwed it in from behind.  After I remove the board, I will add resin to fabric overlapping the holes to tab it in place.


The maroon color is from my failed attempt at a fairing mix.  Added enough micro balloons to achieve a mayonnaise consistency, but after 2 days, it was still soft.  I think I put it on too thick!  Decided to add another layer of fabric.


Now on to the Enclosure Lids....Part 3.... Stay tuned!

Saturday, October 13, 2012

Outboard Enclosure

OK, so henceforth, this project shall be referred to as the "Outboard Enclosure" for lack of a better term.

I decided to start with building a mold to create the sides of the Enclosure.  This will yield a smoother surface from the beginning.  I am using melamine, since it is impervious and the resin will not stick to it.


This is after 2 layers of cloth and 2 layers of fabric, alternating between the two.


Here is the starboard side, right out of the mold.  The melamine really worked.  Didn't need to use any wax or such.


I decided to add some wood for structural support, since the sides will be subject to people standing or sitting on the outboard enclosure.

This is the port side.  I forgot to take a picture of the starboard side before mounting it.


Added a layer of fabric and resin for good measure.


You can just make out the lip I created during the form process that will support the lid.

I removed enough teak wood trim to allow for the overlap on the hull.  I used 3 lag screws coming from inside the hull and screwing up into the wood.


Port Side of Enclosure


View from starboard top.  I used 2 lag screws which again were screwed from inside the aft berth area out into the structural wood.


View from above.


View from Port Top.  The sides will also be tabbed into the hull and stern to provide extra rigidity.


Back of Enclosure is next

Here it is formed up