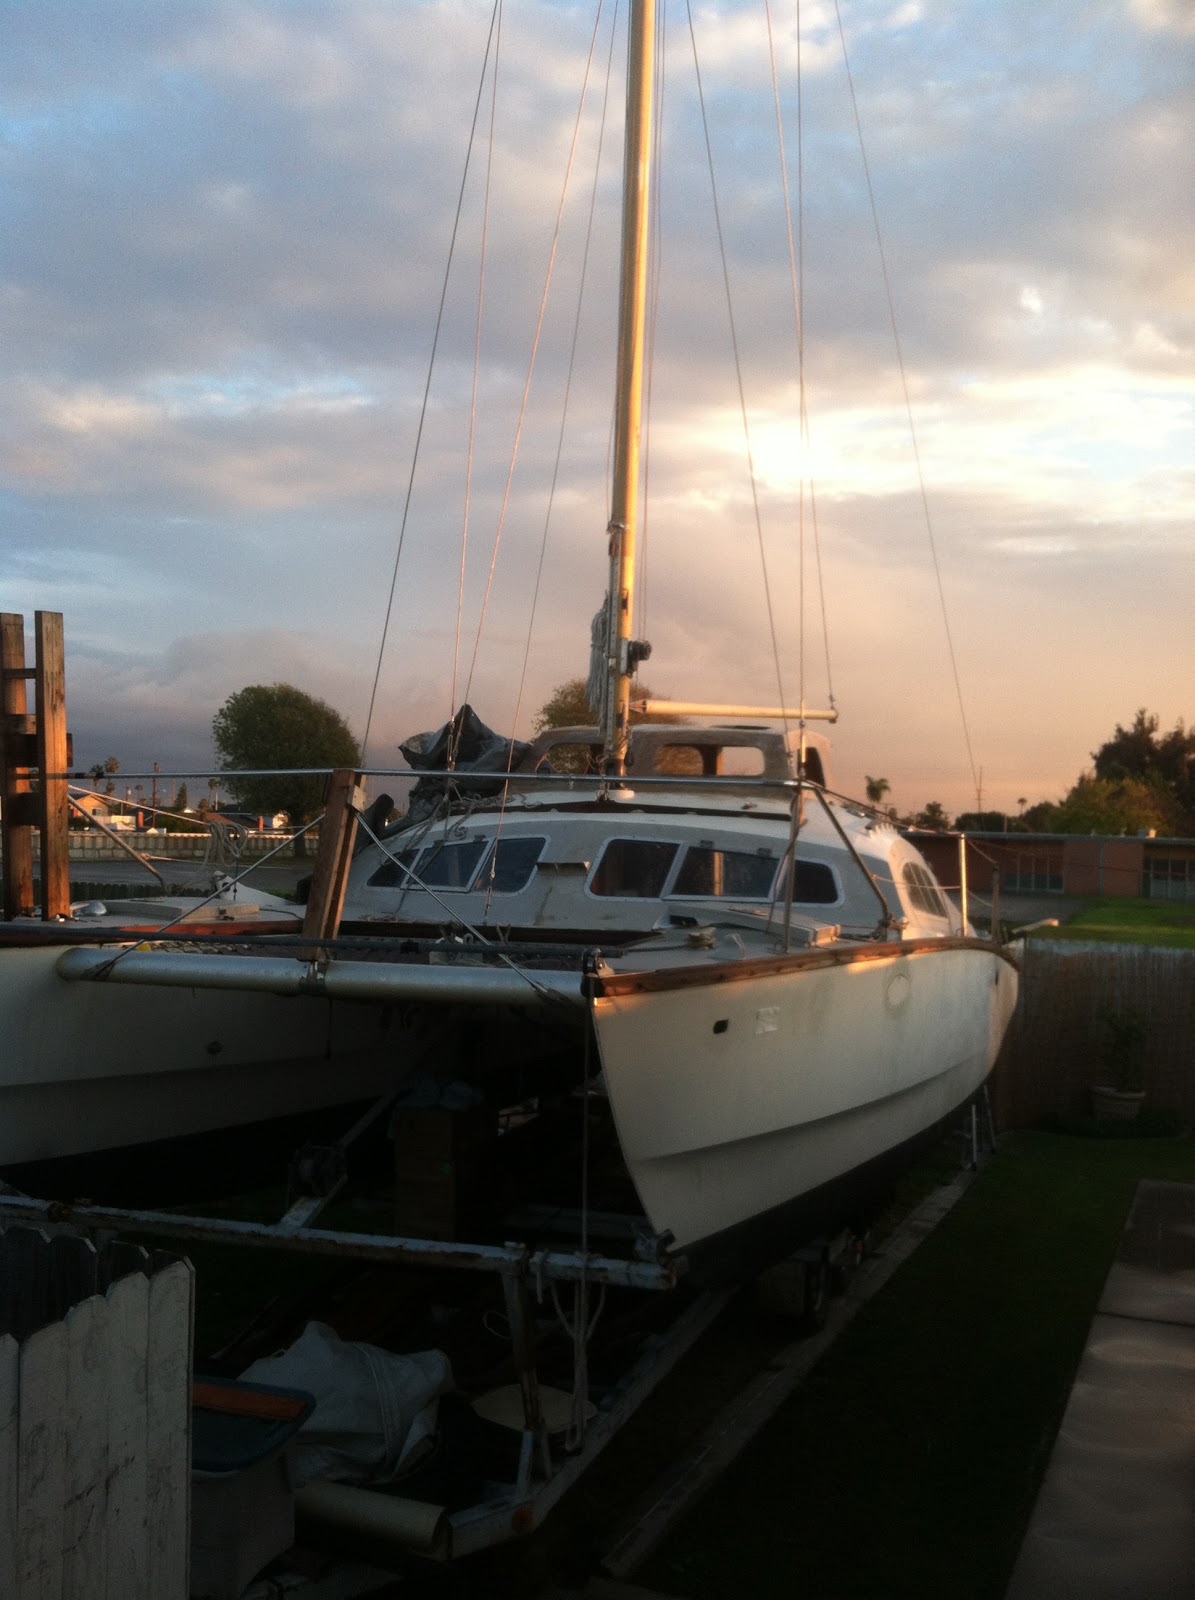
Who says it never rains in California? The past 2 weekends have not been conducive to working outside, but I managed to make some progress.
Here is the helm station out of the mold. I spent about an hour sanding off remnants of the mold. Instead of using melamine, I used pieces of 2 doors from IKEA that we were going to throw away. The white surface of the IKEA doors are basically shrink wrapped onto the particle board.
Unfortunately, the cohesion between the fiberglass and the shrink wrapped material was greater and the stuff just peeled off the particle board in some spots.
A shot from the starboard side. You can see a void smack dab in the middle of the front surface. I drilled a small hole and applied a layer of resin along the entire surface.
Here is the back. I fiberglassed in 3/4" plywood on the top and front for structure and to accommodate the rotary helm mechanism.
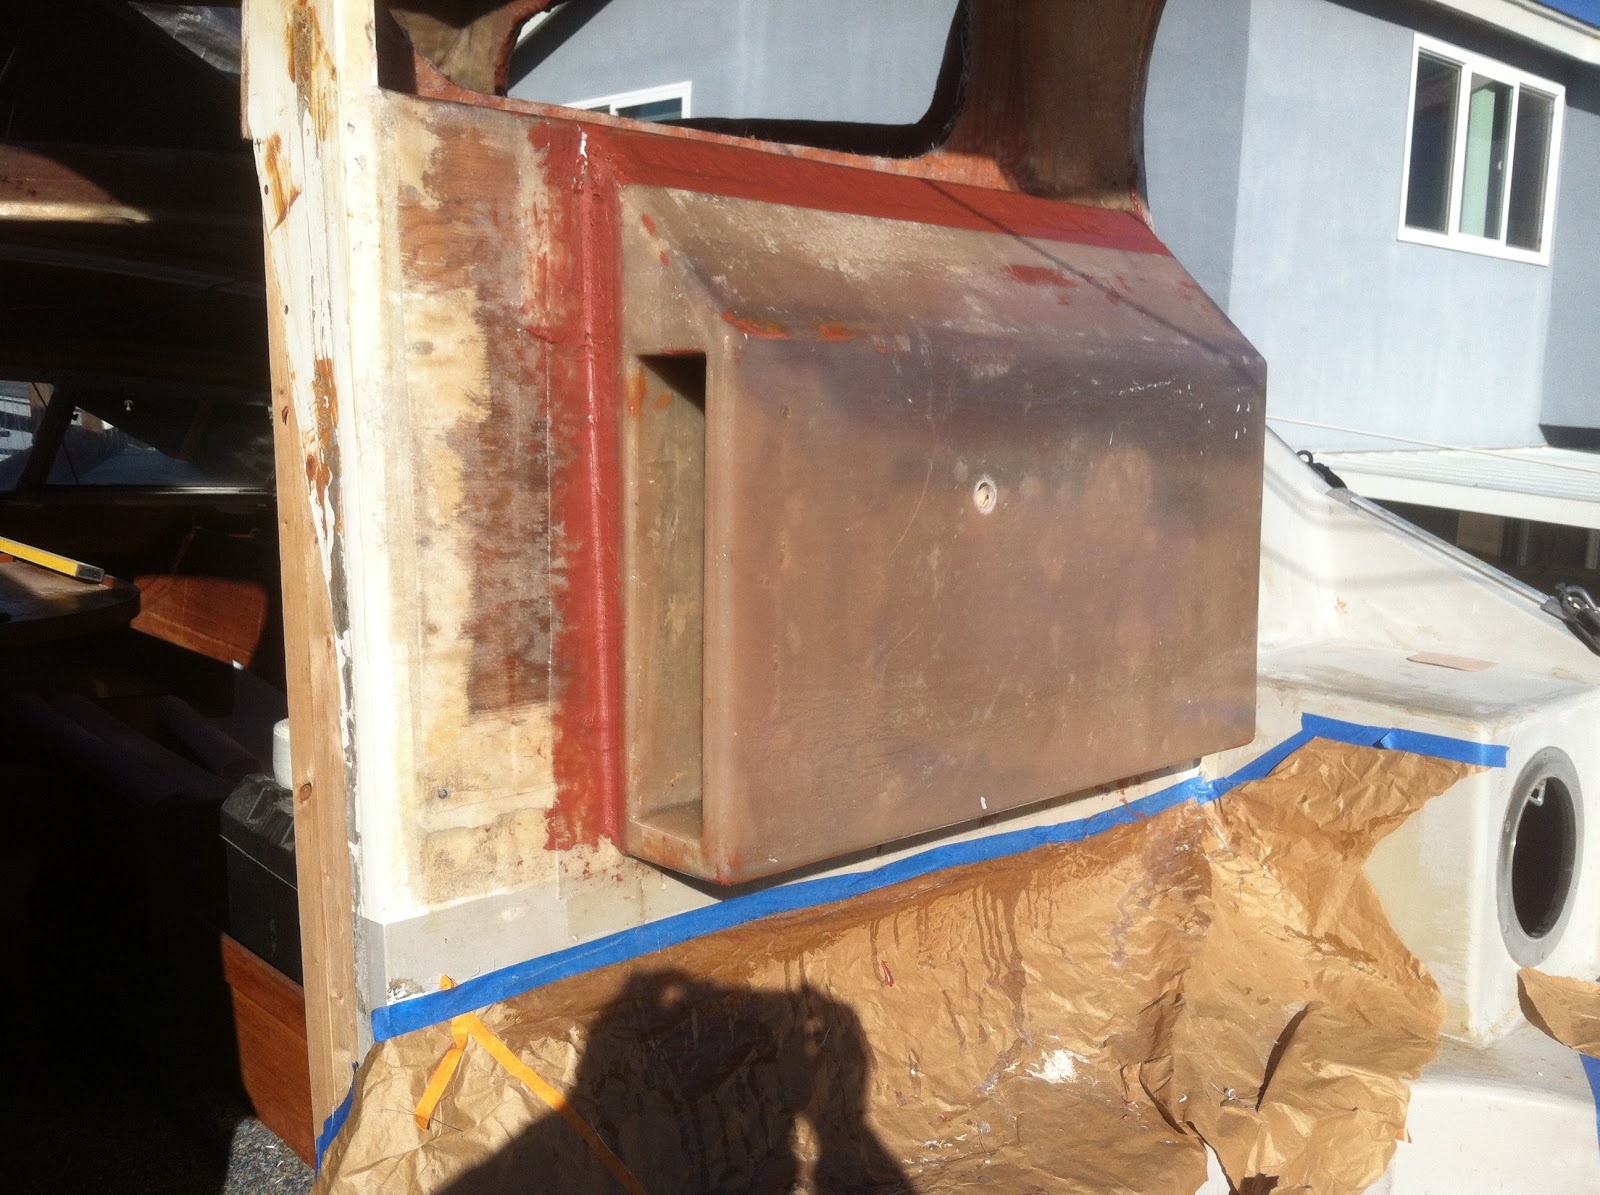
I had enough time today to mount the helm station to the bulkhead. I had prior cut out a piece of the plywood bulkhead and actually used it for the helm structure. This cubby will be for a fire extinguisher.
I decided to mount the helm station off center, because my idea is to place the helm chair as far starboard as I can. That way I can easily see either through the cabin or along the starboard side of the cabin roof. You can revert back to my drawing I posted in a previous Post.
A shot from the starboard side. The cubby will be for my winch handle(s). This is a good time to comment on an Oh Oh moment I had right after laying the last layer of mat in the form a few days ago.
The form was made perfectly square. I realized that the bulkhead was angled forward. Since I did not want the helm station to conform to this angle, I used the plywood to take up the difference. In the long run, this works out nicely since now I have a place to tab when I fiberglass the helm station to the bulkhead.
Just making lemonade!
You can see the remnants of the shrink wrap material in the cubby. I decided to just add a thin layer of resin on top instead of trying to sand it off by hand.
BTW, the lid in the bottom of the picture can be fully raised vertical, without hitting the helm station.
Obviously all plywood used in this project needs to be fiberglassed when exposed to the elements. I had purposely left the plywood on the bulkhead un-fiberglassed until after I mounted the helm station. You can see from this picture that I will have a nice overlap of mat/fabric when I fiberglass this area.
You would think I knew what I was doing!
Another shot of the port side to show the angle of the bulkhead.
Off to the right of the picture, you can see my continuing efforts with making a filler mix of resin to fill in the hole in the gunwal left by the old controls. I think I am finally getting it. Used a mix of resin, micro balloons and cabosil. Actually you can also see it on various spots of the helm station where there were mold defects.
These next two pictures are from the inside of the cabin to try and show the cavity that will house all of the helm mechanics and electronics.
You can see the screws at the top and right hand side of the picture that I used to mount the helm station.
Have not really decided on the configuration of the wall to hide all of this stuff. I am likely going to build a wall just aft of the nav table. I will place an access door as well as the electrical panel. In fact, I may just have the majority of the wall be the door so I can flip it down to access either the helm station mechanics or the back of the electrical panel. I guess I will decide how far forward the wall will be once I install all of the gadgets and gismos!
I will be taking 2 weeks off for Christmas, so hopefully I will be able to make some good progress toward the steering and outboard controls. That should complete the major structural modifications, then it will be on to plumbing and electrical. I will likely tackle plumbing first since that will account for any more holes that need to be made.