Sunday, February 16, 2014

Getting Close. More odds and ends

Buttoning up a few things.  Still working down my check list.  My last post was middle of January prior to taking a weekend off to visit my parents in Louisiana. 


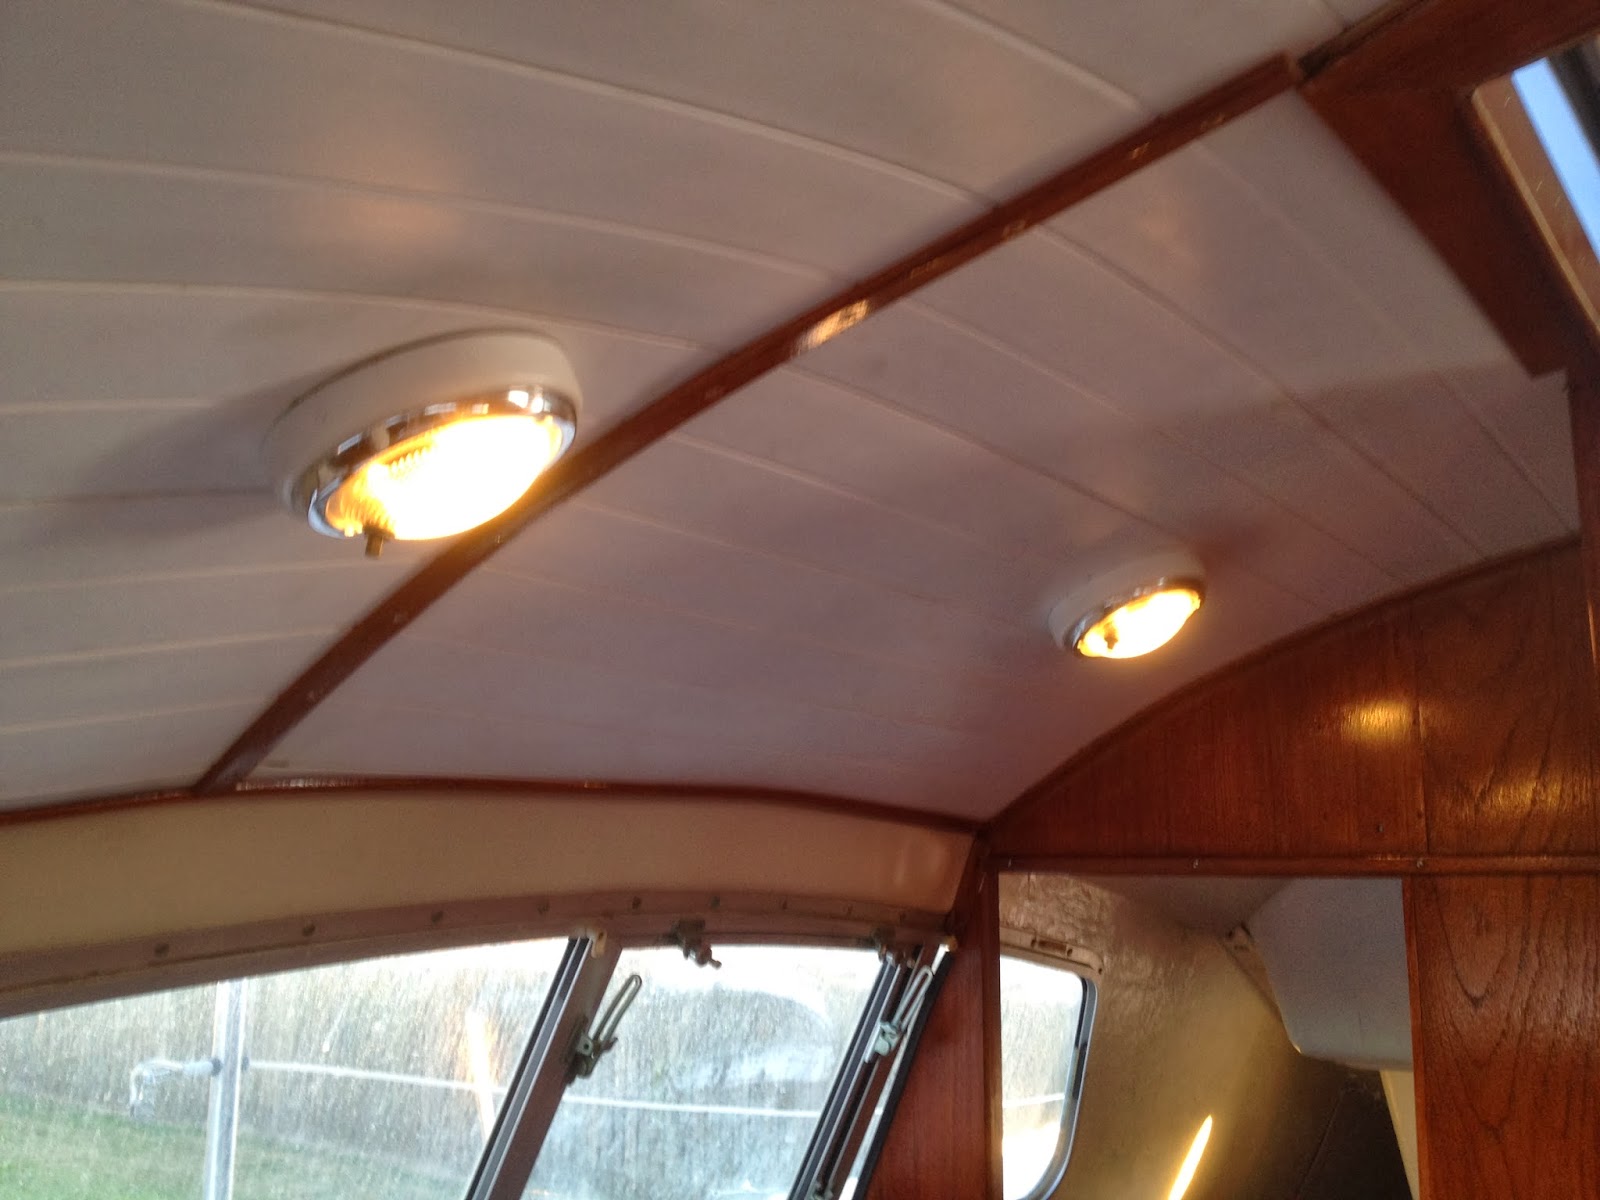
My first weekend back I concentrated on reinstalling the headliner and lights.

This is the galley area.


and the starboard forward area.  Still have some finish trim work to do in there.


This is the starboard aft berth area.  The headliner has been trimmed since this photo was taken.
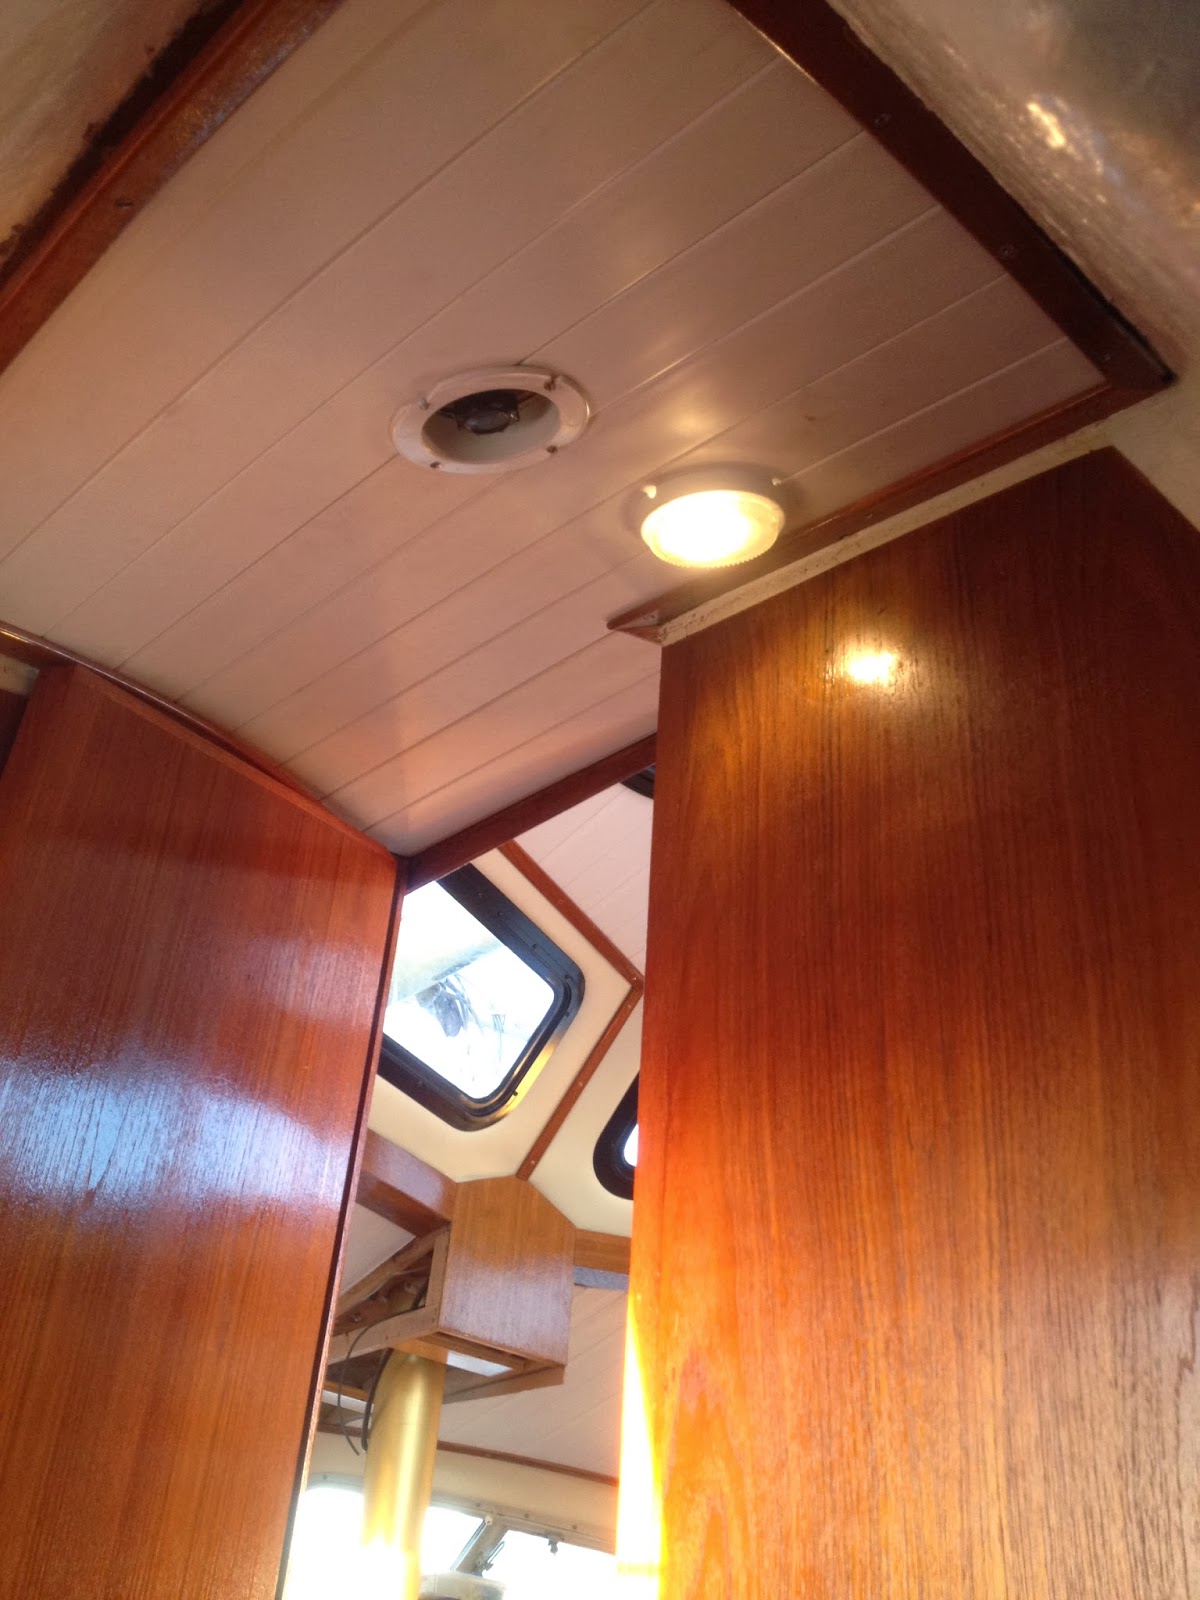


This is the port aft berth.  All trimmed out.


This is the head.  Still need to trim and decide what to do to hide the electrical wiring in the corner.


I also finally got around to wiring the navigation lights.


Last weekend, I decided to reinstall the gas tank.  I put the fuel line bulbs in the cavity in the stern.  They will be accessible from the cockpit so it is not necessary to lift the lids that are going to be over the outboards.


I also decided to change the impellers in the lower unit of the outboards.  I was successful, but in doing so, I removed the gear rod and could not put it back without removing the prop shaft.  They are now at the outboard mechanic!  When they get back, I will reinstall and try to start the outboards, although it is likely I will have to clean the carbs.


This weekend, I reinstalled the main cabin sole.  The sole was still a little spongy feeling, so I decided to add another piece of plywood below.  So now I have 2- 1/4" pieces of plywood glued together and that did the trick.

I could not have put a 1/2" piece of plywood without making a cut somewhere in order to install it.  There are too many obstacles.  As it is I had to bend the plywood to get it in in one piece.

This is the only place I have a join.


I filled the gap with epoxy and put a piece of pin stripe over the seam.  It will get 7-10 coats so the pin strip matches the color of the others.
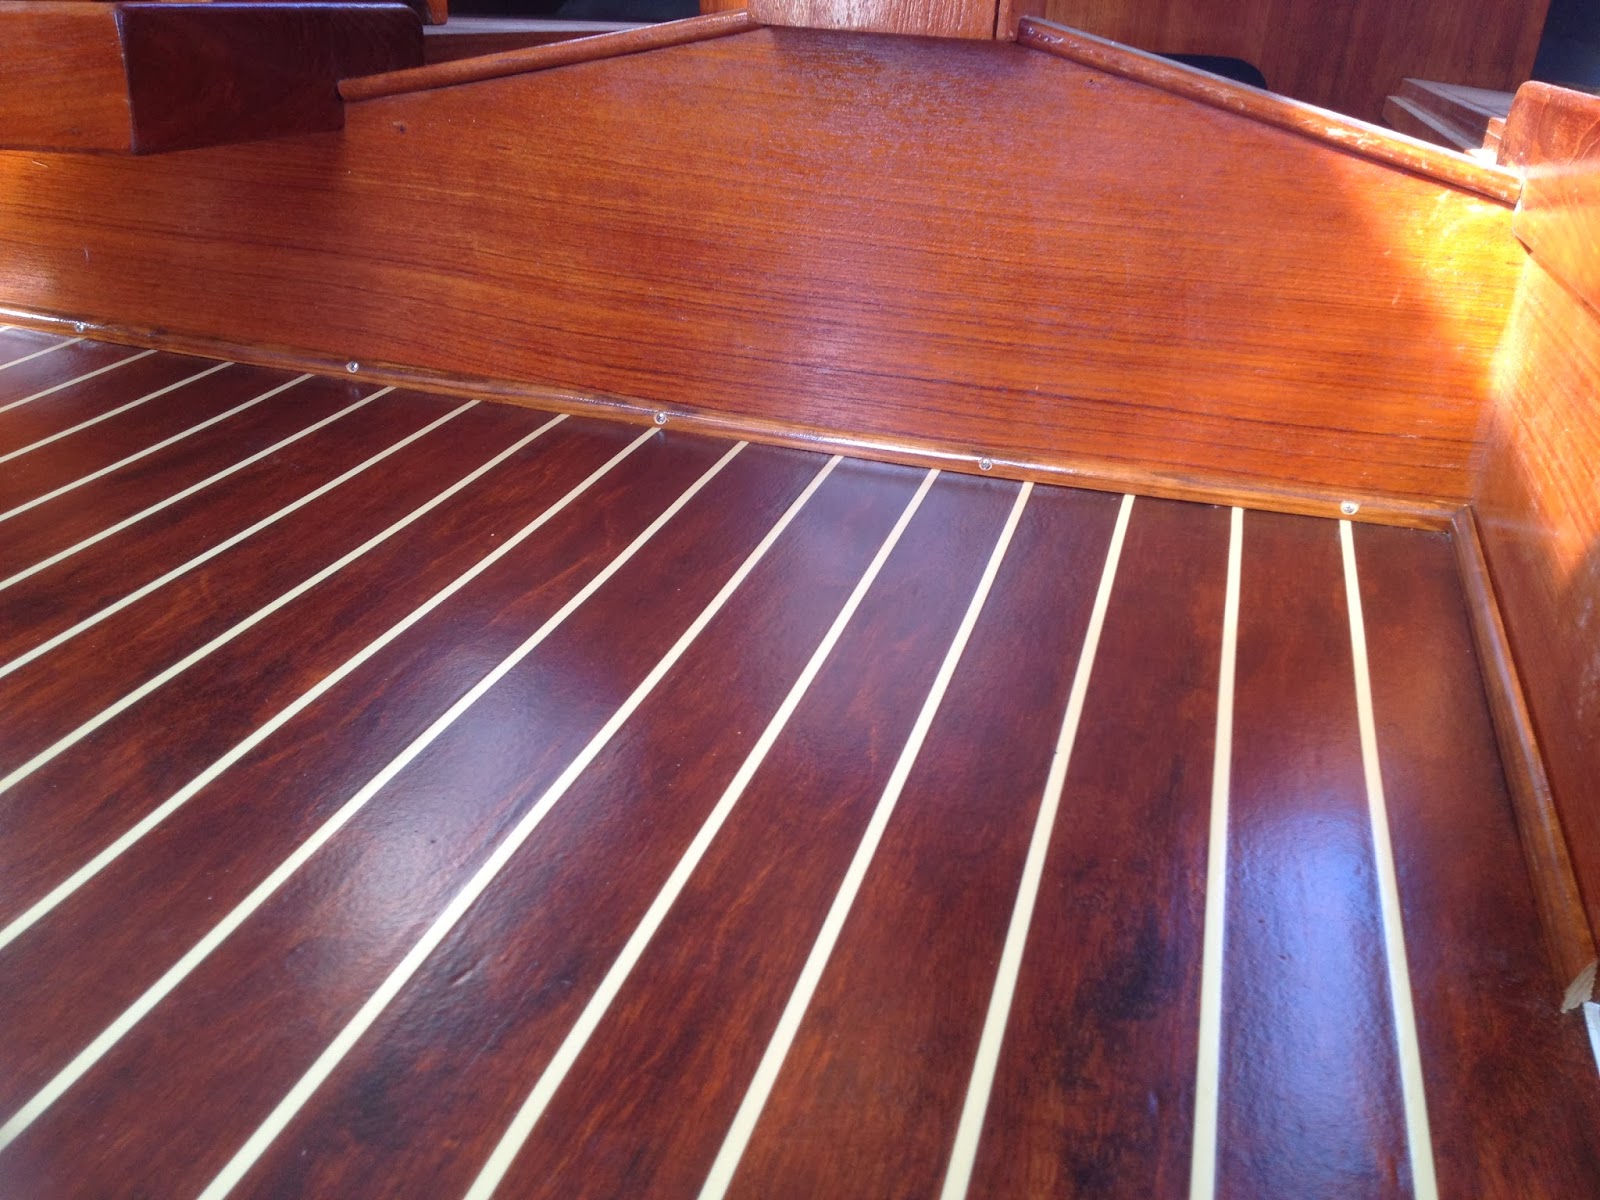


I also started adding the base molding  Today, I also started putting the final coats of poly on the remaining pieces of sole.  So I will probably finish that tomorrow as well as finish up the base molding.


The helm station is coming together.  I added the C-Plath compass and Raymarine instruments.  The wind display is to port, and the Tri-Data display for speed, depth, and temperature is to starboard.  The display right above the ignitions is for the X-5 SmartPilot Autohelm.  Just need to add the rest of the pieces to make it operational.

Monday, January 20, 2014

Any Leaks?

After completing the installation of all of the running rigging on the cabin roof top, I gave the boat a decent washing to check for leaks and just because it needed it!


Butyl tape trimmed and ready for lines! From left to right - Clam cleat for Main Sheet when sheet in hand is necessary. Enkes 16 - 2 speed winch. Clutches for main sheet, topping lift, downhaul, jiffy reef, and main halyard. Foot block for continuous control line for self tacking jib car, clutch for self tacking jib sheet. Lewmar 40 ST 2-speed winch. Block on lower right for asym/screecher sheet. Yes, the winch handle on the left clears, quite comfortably!


Also finished installing the LED deck lights.


Moved on to installing the VHF antennae.  The halyard exit plate is a good alternative to a hole and grommet It allows the heavy duty VHF coax to bend smoothly, while shedding rain from entering the mast.


And on the other side, the WIFI antennae/Bullet receiver.  I will tighten up the CAT 5e cable so it does not interfere with the main sail or halyard.


Started re-installing the PVC beadboard headliner today.  I also patched all of my oops divits, etc. in preparation for a final touch up paint.  Major items on my To Do List in order of priority:

1.  Install Gas Tank / Test Outboards
2.  Install Instruments
3.  Install Sole
4.  Finish Head Cabinetry / Toilet installation
5.  Install Trampoline
6.  Install Swim Deck
7.  Apply Bottom Paint / Touch up paint
8.  Final Coats of interior/exterior Varnish
9.  Finish out Starboard Berth Area
10.Install 110V wiring and Inverter/Charger.
11.Install refrigerator compressor.
12.Install LPG tank/tubing

Taking off next weekend, so it'll have to wait!


Sunday, January 12, 2014

Mast Wiring and Running Rigging

Since my last post, I spent a couple days trying to get the existing mast wiring out of the mast.  After some tugging and exploring, I finally got it out.  Also nearly completed my running rigging.  All lines have been purchased.  Just waiting for my wire to rope halyards. I decided to keep the wire, since the sheaves looked to difficult to remove and replace.


This is a photo of the existing wiring.  It somehow adhered itself to the foam mast sleeve, which made it difficult to remove. You can see pieces of foam on the wire.


And here is all of the wiring after removal!


After a couple of tries, I was able to pull the new wiring harness through the mast and exit plate.


This is what is left at the mast head.


These are the wires for the 2 deck lights.


And the wires for the steaming light.


I was able to install the steaming light. I needed to add the white buffer between the light fixture and the mast so it would conform to the mast curvature.  I used a piece of white plastic lumber.  The black butyl tape that oozed out, will be trimmed away later.


This is a photo of the mast head as removed from the mast.


This is the mast head with the new LED anchor light, wind transducer and Davis wind indicator.


Spent quite a few days installing the running rigging.  I used some various lines to mock up and place the clutches and fairleads.  The fairleads were placed on top of a piece of white plastic lumber to keep the lines off of the roof.


This is an example of the white lumber I used.  The corners were rounded off and a bevel was routed along the top edges.


Butyl tape was used under all of the rigging. I will trim it away once it has finished oozing out. Ignore the tags on the clutches.  They need to be removed and replaced with the appropriate tag.  The foot block is for the continuous line for the self tacking jib.


This is one of the deck organizers showing the butyl tape.  I did not skimp on the amount I put on!!


Here is a photo of the rigging on the starboard side.


And the self tacking jib rigging.  Note the piece of plastic lumber below the track.  I cut it to give the track a forward cant.


Finally, the port side for the jib and skreecher halyards.


Next week I will check for leaks.  I can't imagine there will be any with the amount of butyl tape I used, (knock on wood).

Sunday, December 29, 2013

Mast Lowered

I took off Christmas week and got a few things done.


I purchased a halyard organizer/mast plate from Garhauer.  My intent was to install it below the mast base.  After removing the 4 bolts that hold the mast base down, there was still something preventing me from removing it.  I am guessing there is some sort of attachment below in the cabin, but I did not want to tear up the woodwork.  So I just cut a hole in the organizer, placed it on top and secured it with the same 4 bolts.


I also installed the winches.  This is the port side showing the winch for the head sail sheets.  Forward is a deck organizer for the head sail halyards, so I can lead them aft and use the same winch.


This is the starboard side.  the Enkes 16 2-speed winch on the left will be for the main sheet, downhaul, topping lift, and main halyard.  Forward is the double stacked deck organizer.  The clutches in the picture have not been installed yet.  I will set them in place after I tie some mock lines from the halyard organizer and through the deck organizer.


This is near the base of the mast.  I will be running the halyards inside the most, so I cut holes for the exit plates.  The one exit plate shown is for the electrical loom.  The existing wires are shown running out of the middle exit plate hole.  They are somehow secured inside the mast as I can not pull them out!  Need to figure that one out.


Here is the loom laid out. It includes the wires for the anchor light, steaming light and deck lights, as well as the VHF antenna, wind transducer and WIFI antenna.


I used zip ties with a bit of room for ease of pulling any wire out if necessary. Used a bit of tape to keep the zip tie in place. Today, I tried to pull the loom through the mast, but was blocked by something.  I hope I don't have to run the wires individually as I am trying to keep thing inside the mast neat, since I will be running 4 halyards inside as well.


I also was able to squeeze in some finish work on the plumbing in the galley as well as run some more 110V wiring to the galley area.  I also ran wiring to the galley area bilge pump and to the area behind the refrigerator to feed the condenser and a wash down pump.  Forgot to take pictures of that though.  Maybe next post.

Happy New Year!


Sunday, December 15, 2013

Plumbing Continued

Wrapping up the plumbing and thru-hull installation.


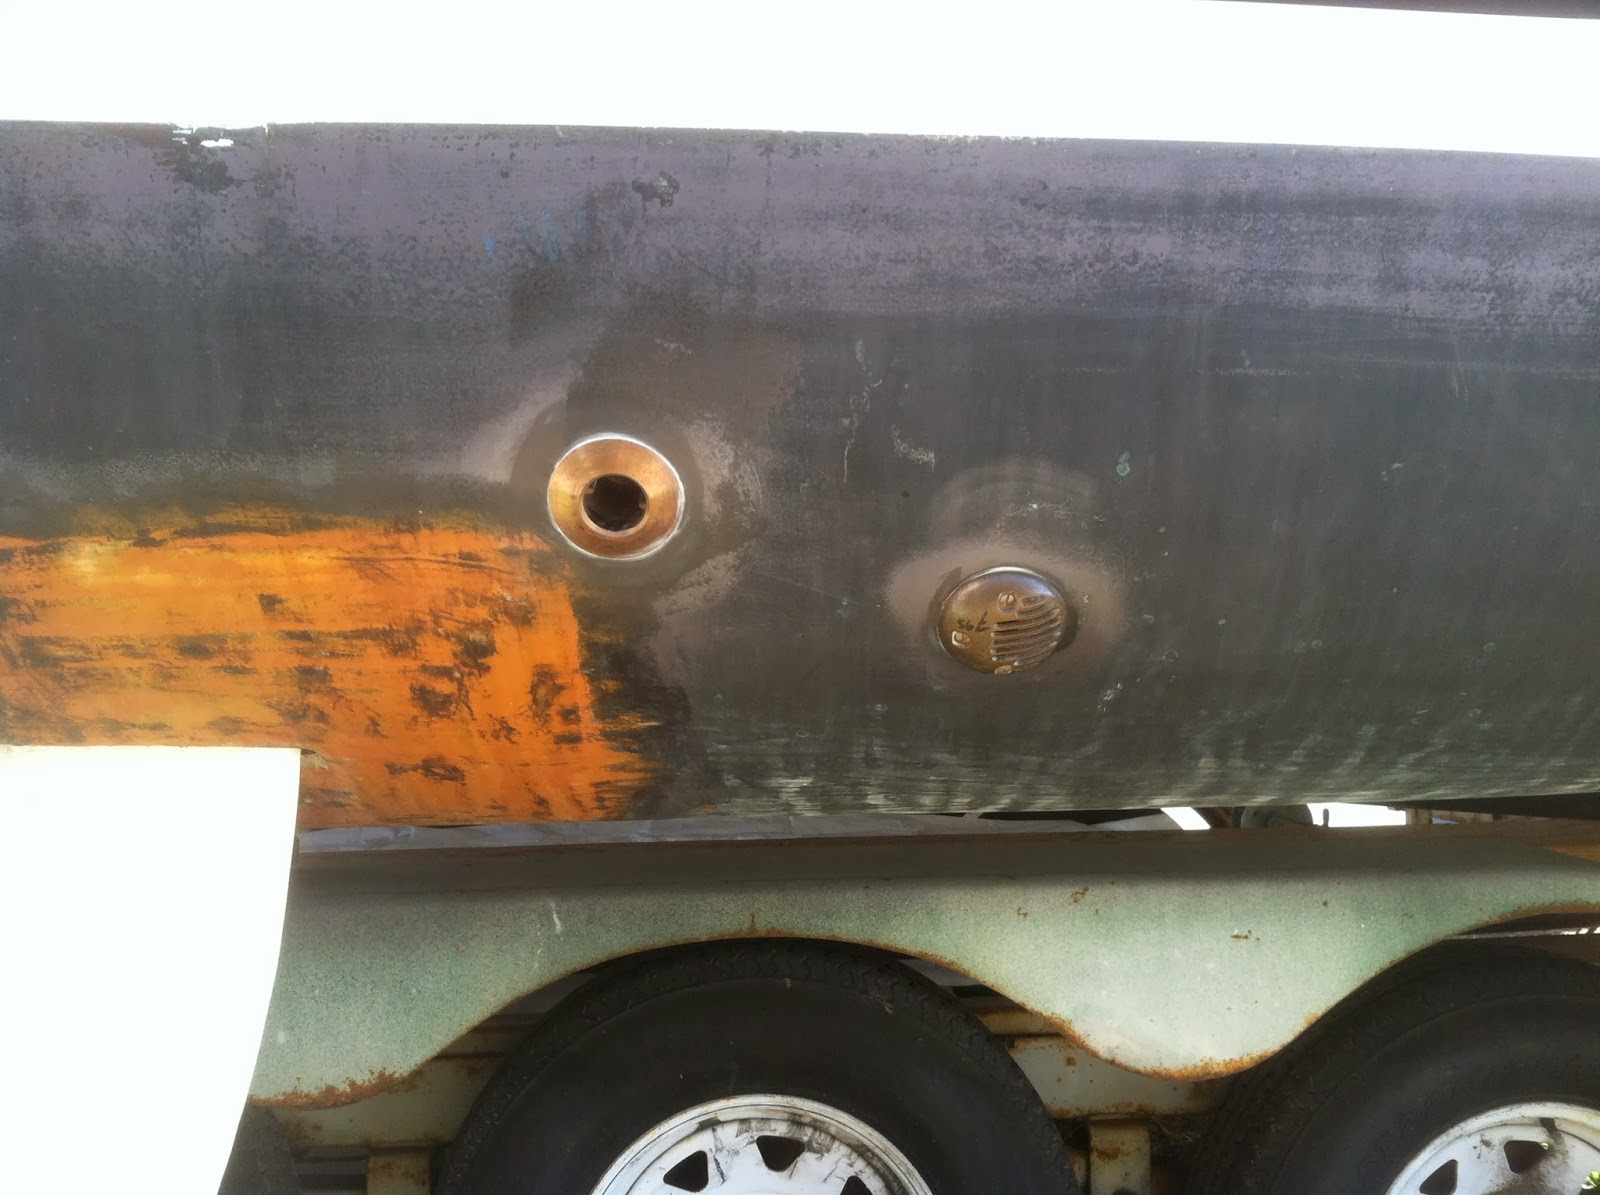
This is the bronze 3/4" raw water intake with "screen" and 1 1/2" outlet for the head.


This is the other side showing the sea-cocks and backing blocks.


This is the 3/4" intake that was originally installed for the water cooled refrigerator.  It will be used to provide sea-water for the galley sink and also for a wash down pump.


And the other side, showing the sea-cock and the new thru-hull for the tri-ducer.


This is the tri-ducer thru hull with the plug installed.


Starting to look like a sea monster!  Starting from the right.  1 1/2" waste outlet.   From the 3/4" intake the raw water will travel up through a screen filter and up to an anti-siphon then down to a 3-way valve that will direct either raw water or gray water to the toilet.


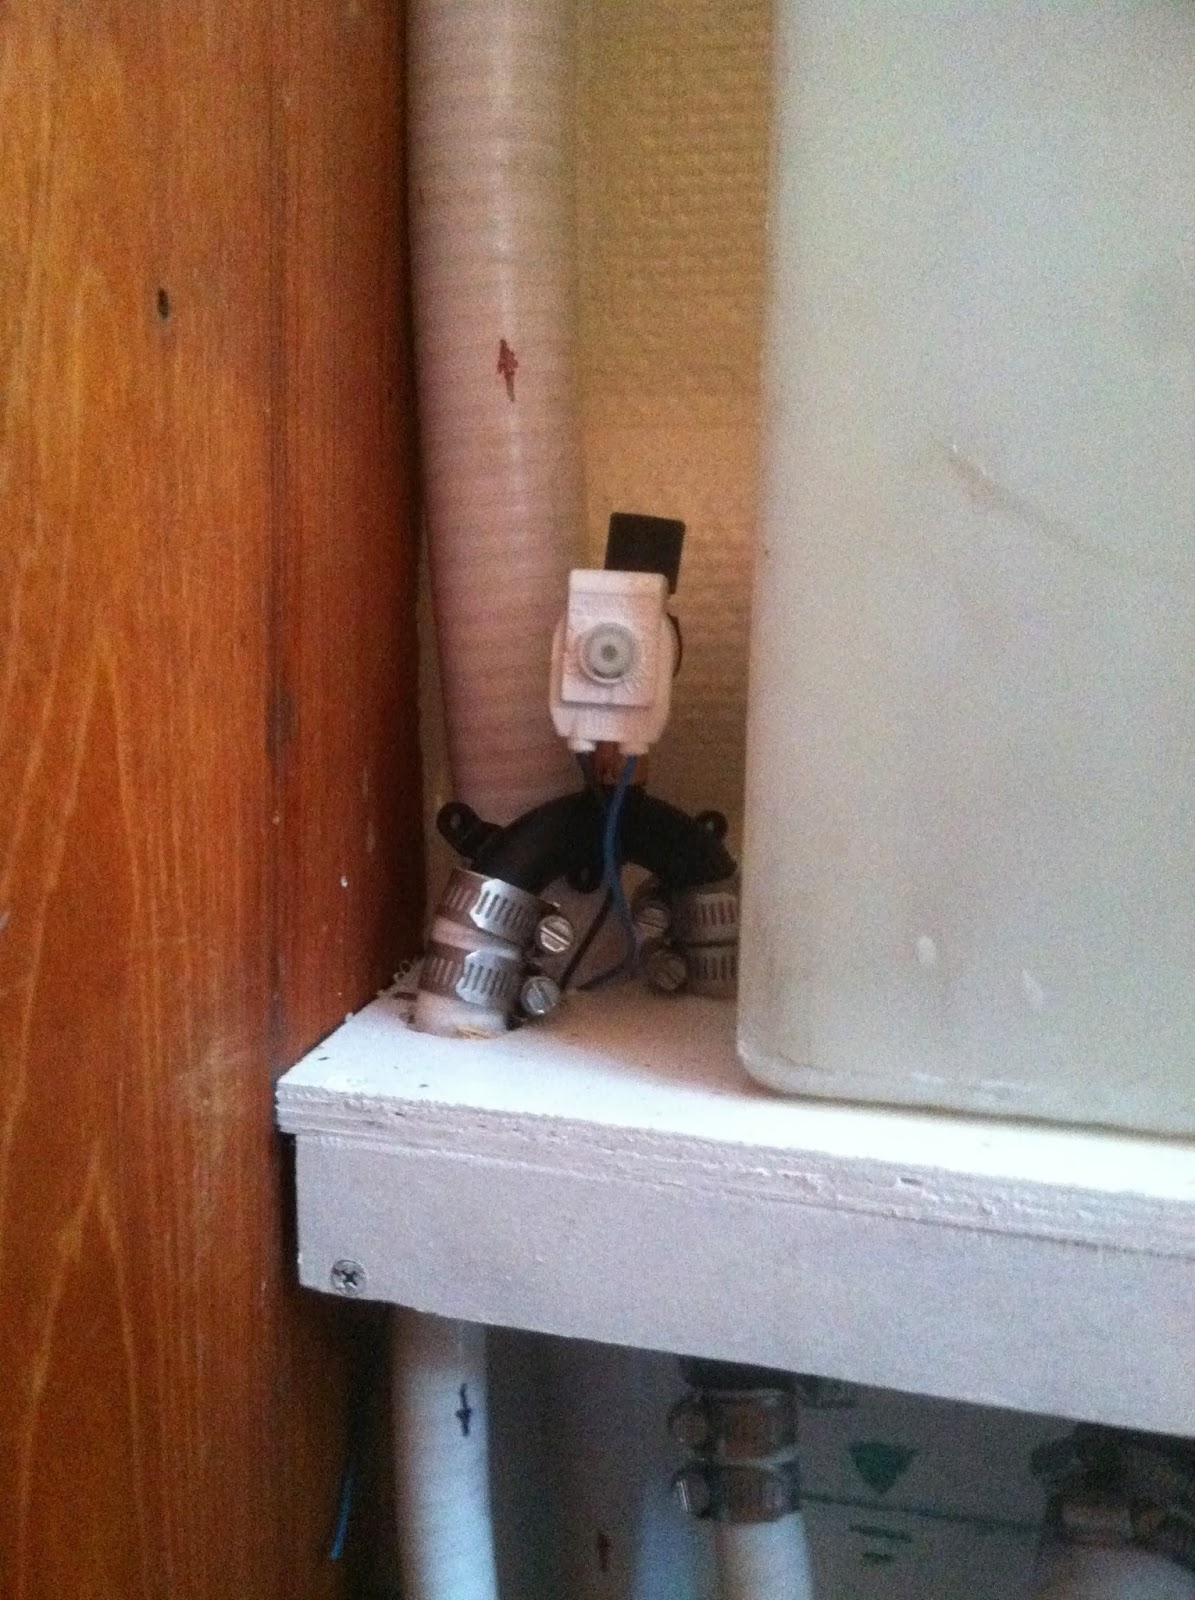
Close up of the anti-siphon valve.  It has a solenoid installed to keep the intake primed.  Also shown is the 1 1/2" discharge tube that goes to the waste tank.  Since the waste tank is above the water line, there is no need for an anti-siphon valve.


A better shot of the 3-way valve for the toilet supply.  I need another NPT to barb fitting to make the connection.  Note the arrows!


This piece of plywood will provide support for the toilet. I put several coats of polyurethane on all sides to water proof it.


This is my Jabsco Lite Flush electric toilet, temporarily placed to make sure everything is properly placed.  I will place a facade in front of the waste tank and also try to place a piece below the shelf to hide the mechanics below while still providing access to the valves.


This is just a picture of the bilge pump that will be installed in the galley. Trying to place any wiring and tubing prior to installing the sole.


Speaking of which, I temporarily installed the sole to check out the fit.  Starting to come together.


I also temporarily installed the main cabin sole.  The sole was a bit bouncy under foot.  Not acceptable.  I realized that the fiberglass beneath is not even.


There is a distinct depression in the middle.  I am applying some floor patch to even it out.


Pretty fruitful weekend.


Sunday, December 8, 2013

Head Plumbing

Rain on Saturday put a damper on my progress, however today I have made a little more progress on the head plumbing and a couple of other things.


I fiberglassed the backing blocks for the seacocks today.  The Thru-hulls are dry fit in place, but I will remove them to paint the blocks.  I ended up using some scrap Mohagany wood I had for the blocks.  I will just use screws to secure the seacocks to the blocks.


This photo shows the 3-way valve that I mounted underneath the waste tank shelf.


This photo shows that the 3-way valve is about one to two inches above the waterline.  The waterline mark shown is even with the bottom of the boot stripe.


This is an overhead shot showing the submersible pump. It has a 3/4" discharge that will run to under the sink. You can also see the 1/2"  feed teed of to go up to the sink.  The other white 3/4" will provide gray water from the pump or potable water from the sink to the toilet as an option to the seawater intake.


This is another side project.  I added an access hatch to the bulkhead that is between the starboard forward locker and the single berth area.  The previous owner installed a freezer/refrigerator to the berth area, which created some unusable space behind it.  This hatch will allow me to access that area.


This is the space accessible by the hatch. My plan now is to locate the condenser here instead of the storage area beneath the berth.  I also considering adding a wash down pump and locating it here as well.


This is just an updated photo of the progress on my sole.  I have one small area that needs pin striping.  14 coats of poly on the main cabin sole and 7 coats on the other pieces.  More coats to come.


More to come.