Friday, March 21, 2014

Cushions and Door

This weekend, I will be doing some touch up painting and applying the bottom paint, so not much to show in the way of pictures, so I thought I would update a couple of things since last weekend.


Since daylight savings time has arrived, I have been able to get some things done after work.  I was able to finish installing the door and hardware.  The window is an RV slider that opens down and has a screen for ventilation.

At some point, I think I will add some tint to the glass.


On Monday, my cushions were delivered.  this is 4" HR foam that is supposed to last 10 years.  The covering is a grained vinyl.
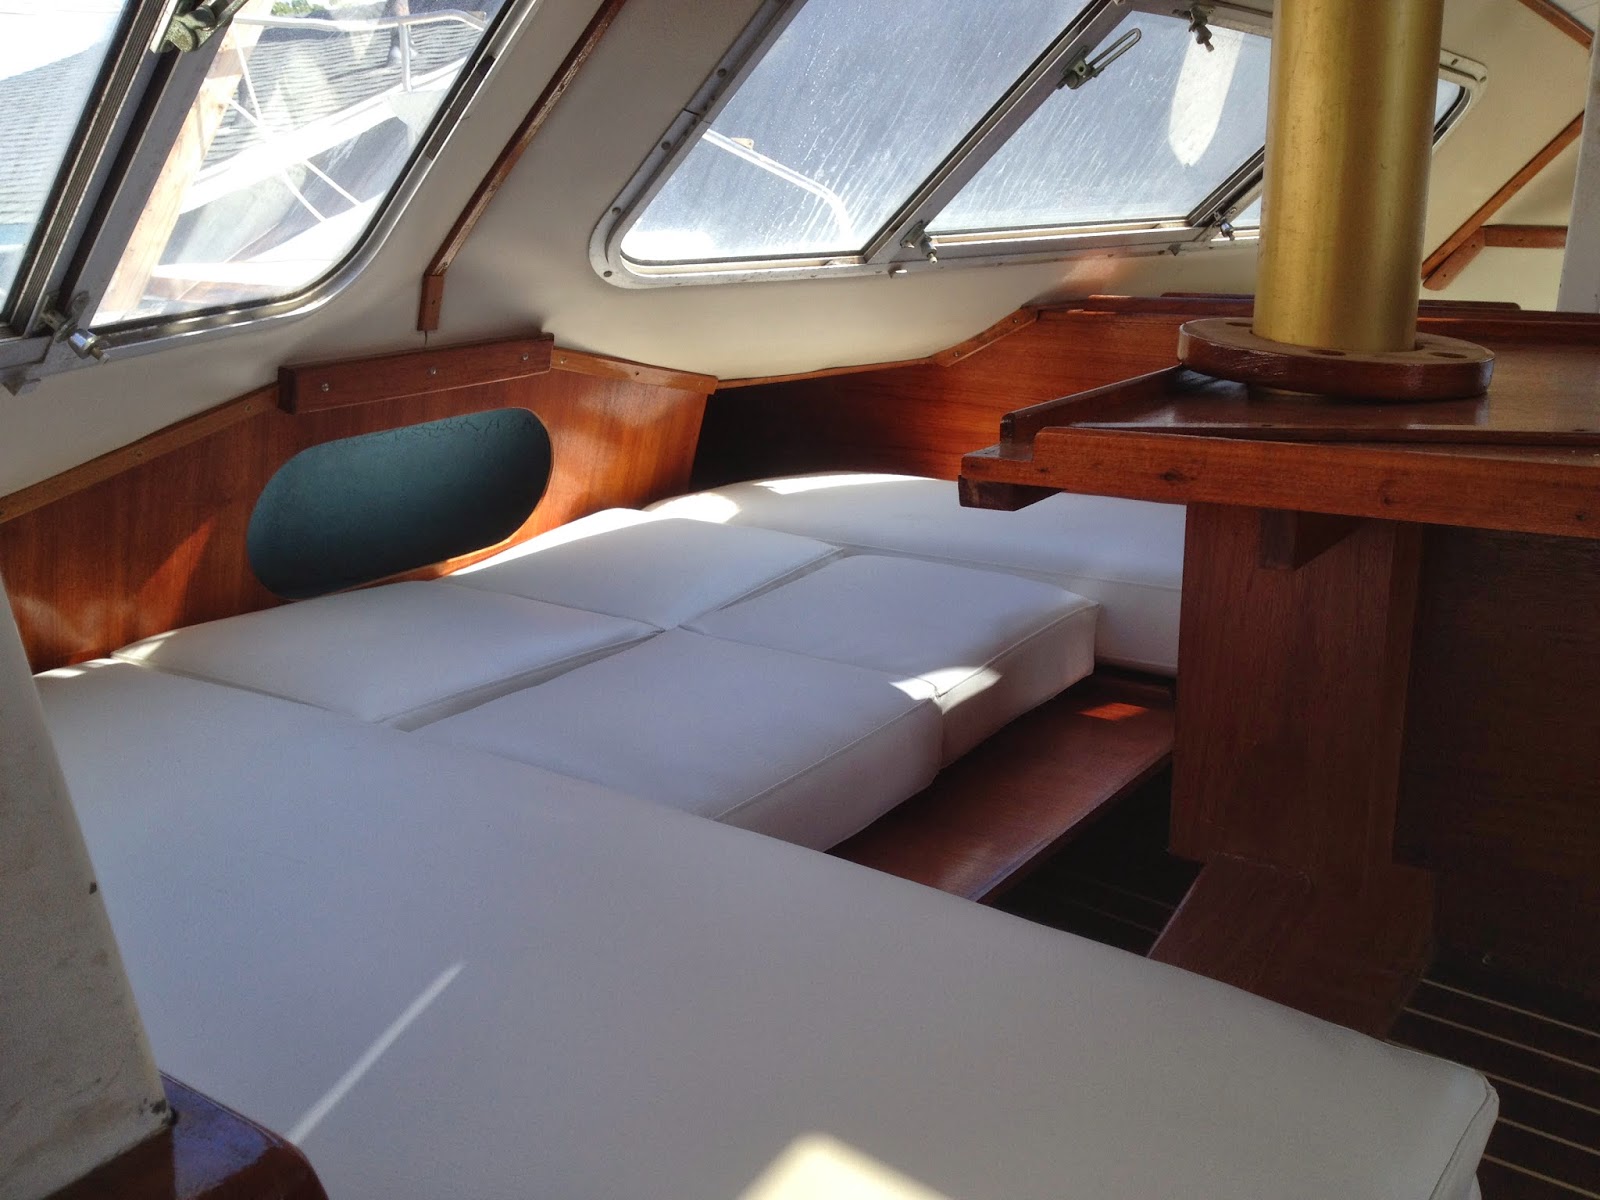


This shot shows the table leaf lowered to convert as a lounge/bed.  Each of the two cushions are joined in the middle that allow it to conform to the cubbies, just forward of the settee seats, where they are stored when not in use.


I ended up using a 2" piece of foam for the nav station seat, since the battery switch was in the way.  It is still pretty comfortable.


The upholsterer recommended sunbrella for the berth cushion coverings as opposed to vinyl.  I will buy some twin sized fitted sheets and hem them to conform to the shape.


This is the port aft berth.  The starboard side looks the same.


To Do List:

1.  Install Gas Tank / Test Outboards
2.  Install Instruments
3.  Install Sole  Partially complete
4.  Finish Head Cabinetry / Toilet installation
5.  Install Trampoline
6.  Install Swim Deck
7.  Install Door
8.  Apply Bottom Paint / Touch up paint
9.  Final Coats of interior/exterior Varnish 
10.Install 110V wiring and Inverter/Charger.
11.Finish out Starboard Berth Area
12.Install refrigerator compressor.
13.Install LPG tank/hose

Sunday, March 16, 2014

Haul Date is Set!

I have scheduled the haul date for April 11.  The boat will lay over at the shipyard over the weekend and I will sail the boat to Shoreline Marina, about an hour away on Monday, April 14.  I have been continually striking things off of my To Do list.


Last week, I laid a bead of Sikaflex caulk/adhesive between the teak rub rail and the deck, as well as the chain plates.

I also installed the trampoline.  The blue tape was laid to get a nice edge on the Sikaflex I just mentioned.


Here is a shot from a distance.


Last Sunday, I started building the swim step.  It is made of plastic lumber.


I used deck screws to fasten the pieces together, building it row by row.


This is the support structure. Three pieces serve as the ledger and are bolted into the hull.  The 2 stingers are screwed in place.  The left side is a lap joint and screwed to secure.  The right side was shaped to conform to the beam and a machine screw was used to attach.


Here is the finished product. If you stare at it long enough, you can see the arrow design point forward to build on the American Indian theme.


The middle piece will be stationary, while the two outside pieces will be removable in order to access the outboard props when they are raised.

The three pieces fit pretty good.  The only way to get them to fit tighter is if I had built it in one piece and then cut it into three pieces.  

I also noticed the the plastic lumber contracts and expands quite a bit.  During the day when it is hot, the fit is tight.  In the evening, the gap between the pieces widens a bit.


Today, I added clam shell vents to the underside of the hull at each of the scuppers.  This will limit the amount of sea water that tends to splash up the scupper and wets the cockpit.


Today, I also started installing the cabin door.  I will probably finish in the next few days, since day light savings time has given me more time to complete my projects.  I will add pictures on my next post. Next weekend will be devoted to touch up paint and bottom paint.  

Here is my To Do List:

1.  Install Gas Tank / Test Outboards
2.  Install Instruments
3.  Install Sole  Partially complete
4.  Finish Head Cabinetry / Toilet installation
5.  Install Trampoline
6.  Install Swim Deck
7.  Install Door
8.  Apply Bottom Paint / Touch up paint
9.  Final Coats of interior/exterior Varnish 
10.Install 110V wiring and Inverter/Charger.
11.Finish out Starboard Berth Area
12.Install refrigerator compressor.
13.Install LPG tank/tubing

Sunday, March 2, 2014

Zeroing in on Move Date

I have decided to pull the trigger and come up with a date to move the boat.  Right now, I am looking at the second week in April.  I just need to coordinate with Shipyard and Hauler.  I should be 98% done, with minor cosmetic stuff on the interior undone.

Last week, I re-installed the lower units to the outboards and decided to start them.  Both started and respond to the new Teleflex/Morse controller.  I really did not expect them to start without cleaning the carbs.  I have decided to call in an outboard mechanic to give them a once over while the boat is on the hard, just to be safe.  That is pretty much my last big unknown for launching the boat.

I also sanded and applied 2-coats of varnish on the teak rub rail. Got around to taping off the area adjacent to the deck so I could lay a nice bead of Sikaflex caulk, but was not able to lay the caulk due to rain.


I also made some more progress on installing the soles in the two hulls.  This is a shot of the head.  The sole is just dry fit for now.  I need to tweak the teak grate a bit that was installed by the previous owner.


This is a shot of the sole at the forward port berth. I installed another layer of plywood below as with the main cabin.  I need to cut out the hole in the lower piece of plywood and this will become an access point to the cavity below the sole.


Okay, this is upside down, but good enough.  This is the galley area.  I will have two access points.  The one to the right is where the bilge pump is located.

More work to do with the soles, but may get finished after launch.


This weekend it rained every day, so I had to time what I could do. While it rained, I installed the hardware back on the storage lids.

This is a shot of the masthead.  I added the block shown for the screcher/asym., in order to get the halyard above the forestay.  A few months ago, I purchased a tap an die set and it has come in handy for things such as this.  I guess I could have riveted it in place, but I am not confident in my rivets as a structural component.


This is a shot of the masthead topper installed.  I also wired the wind indicator and mast head light.

I also installed the 3-halyards and topping lift internal to the mast.

The various stays and halyards are ready for travel.


This is a photo of the base of the mast showing the lines and wires hanging.  I still need to install the exit plates, but again that is something that might fall victim to time and installed on the water.


A few weeks ago, I decided to learn how to do an eye splice, from a video on You Tube.  I am pretty pleased with my results.  I also used some wax thread to lock it in place.  Had to buy a leather palm and some good needles, though.


Well that's it for now.  Whittling down the To Do List. It will be a busy month of March. Hopefully day light savings time change will allow me to tackle some remaining items, but I will likely take a week off in April to get as much done as I can and prep for the move.


1.  Install Gas Tank / Test Outboards
2.  Install Instruments
3.  Install Sole  Partially complete
4.  Finish Head Cabinetry / Toilet installation
5.  Install Trampoline
6.  Install Swim Deck
7.  Apply Bottom Paint / Touch up paint
8.  Final Coats of interior/exterior Varnish
9.  Finish out Starboard Berth Area
10.Install 110V wiring and Inverter/Charger.
11.Install refrigerator compressor.
12.Install LPG tank/tubing

Sunday, February 16, 2014

Getting Close. More odds and ends

Buttoning up a few things.  Still working down my check list.  My last post was middle of January prior to taking a weekend off to visit my parents in Louisiana. 


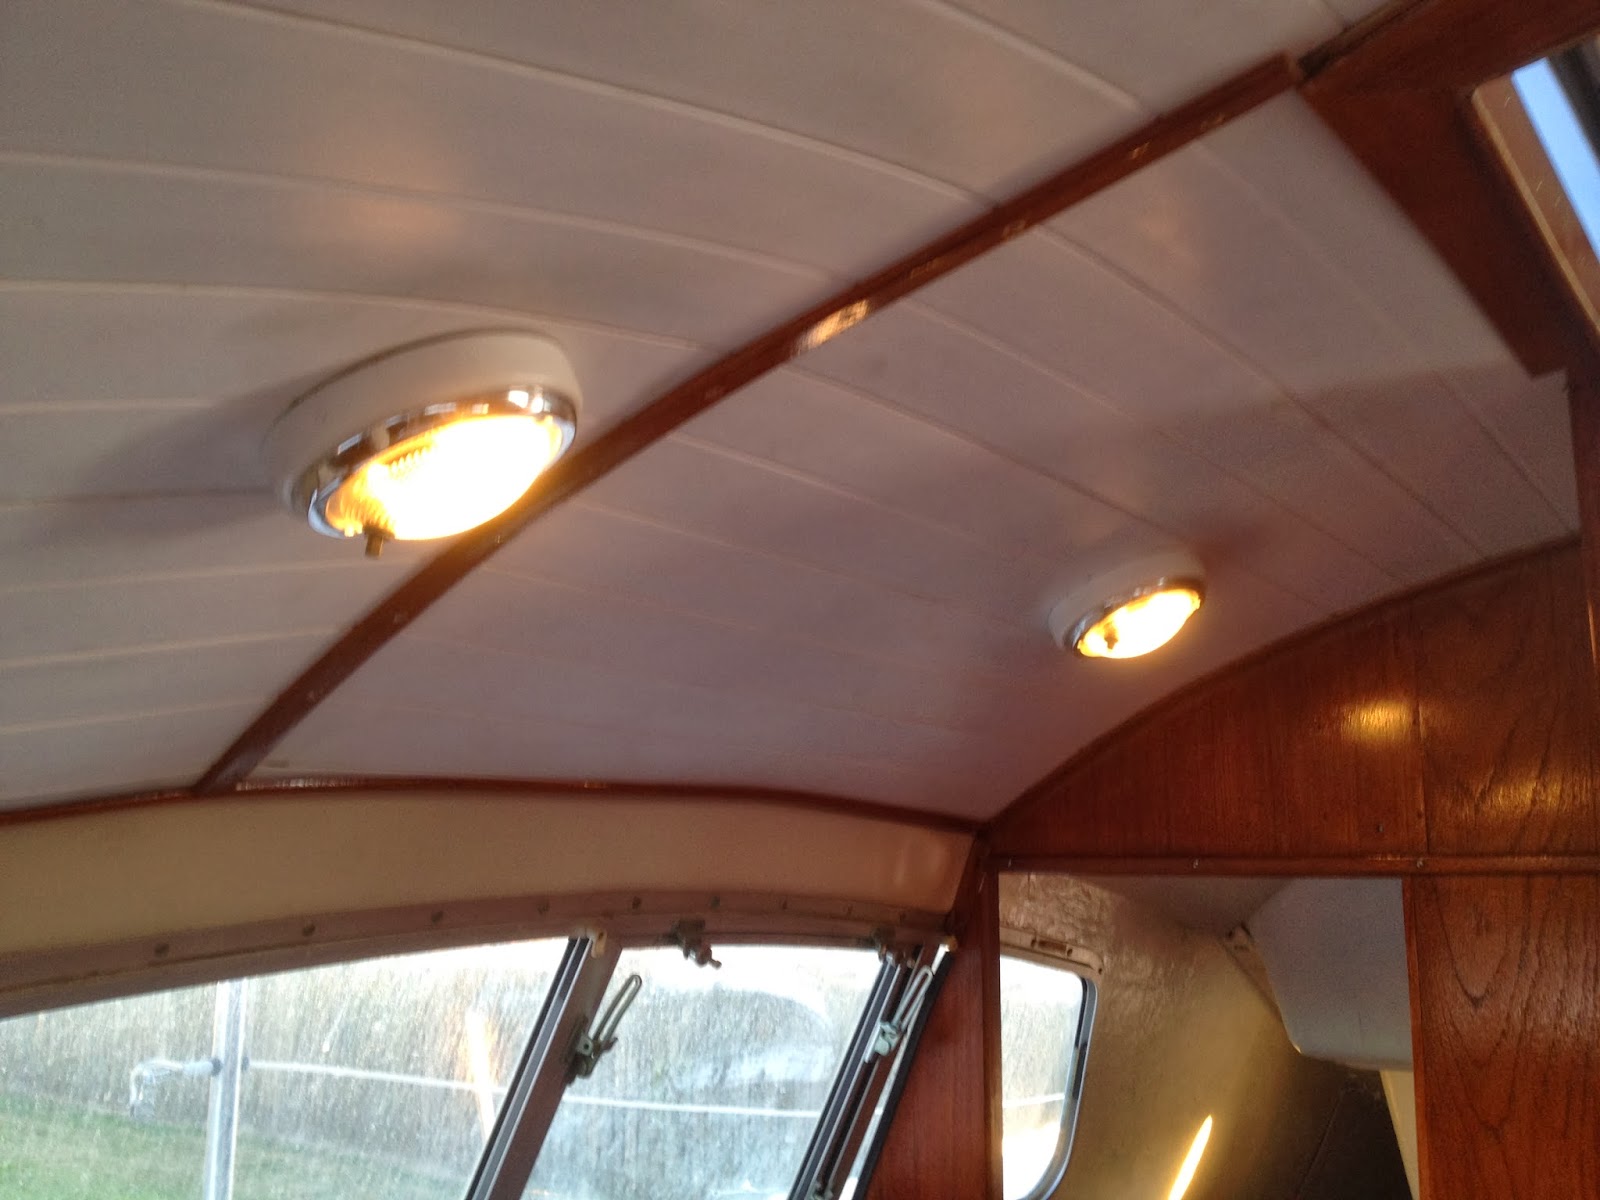
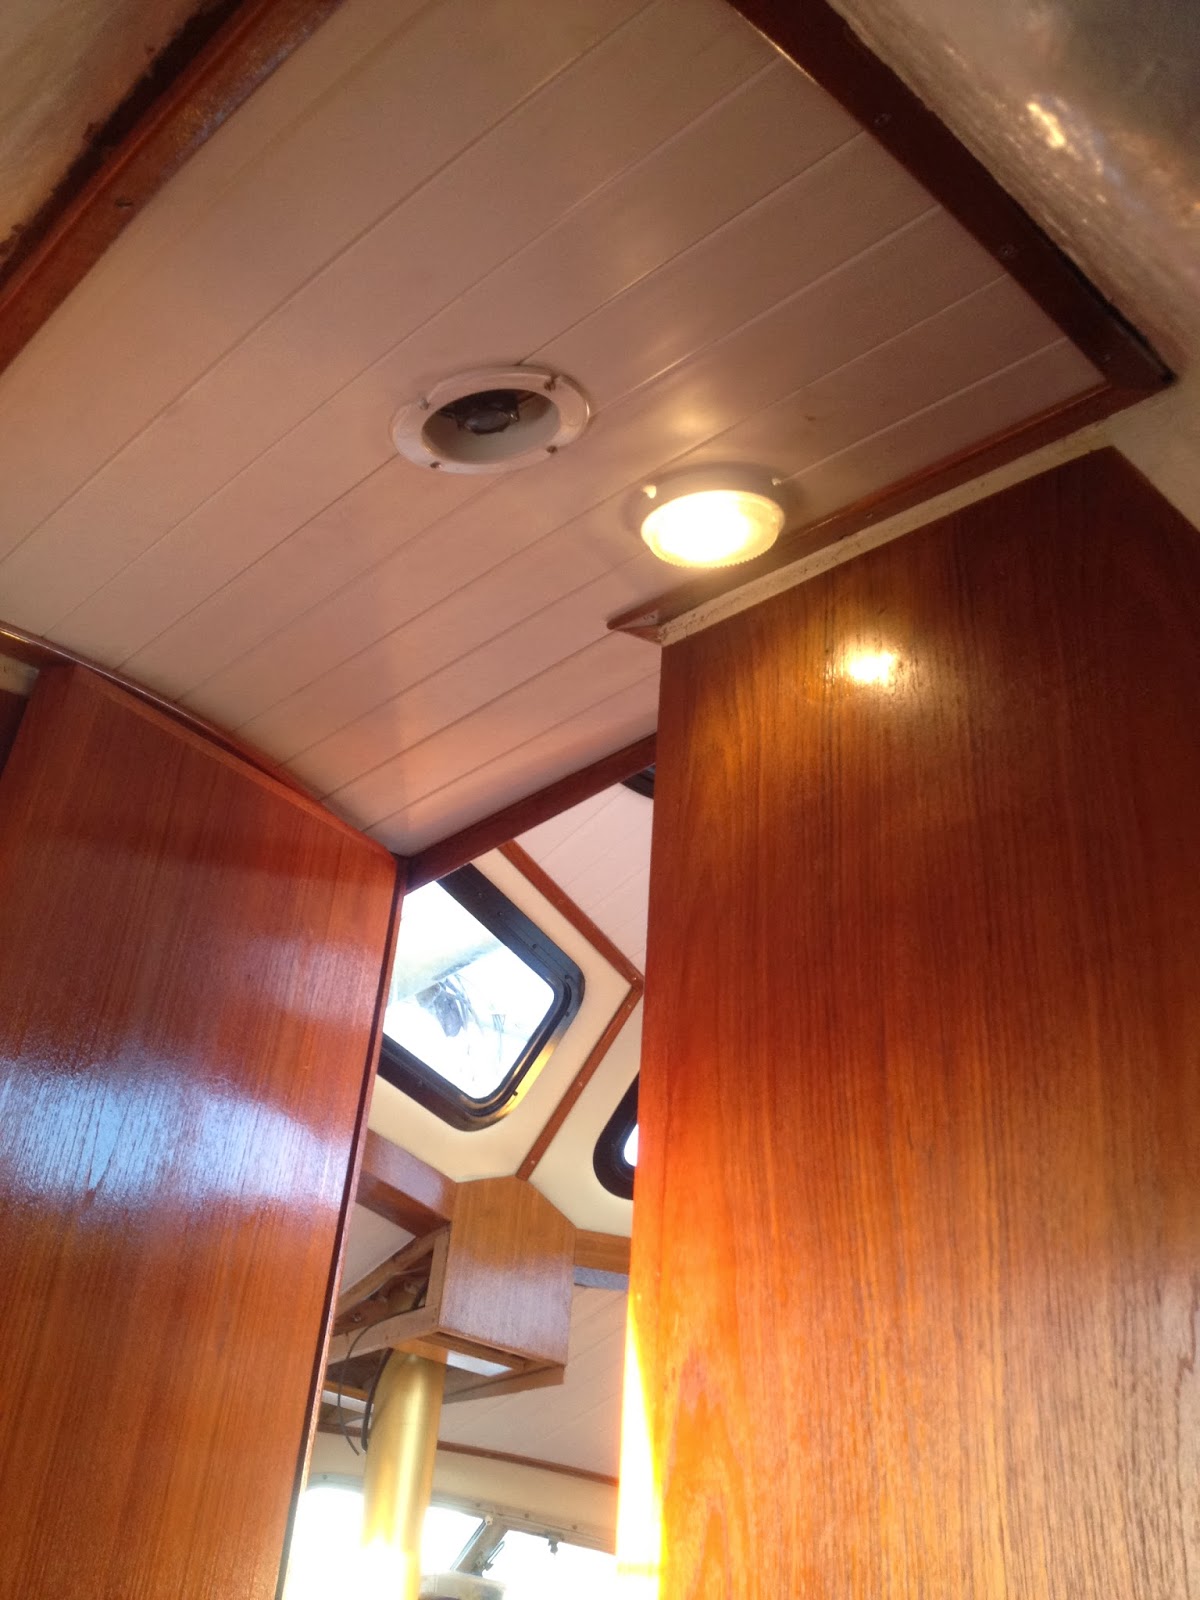
My first weekend back I concentrated on reinstalling the headliner and lights.

This is the galley area.


and the starboard forward area.  Still have some finish trim work to do in there.


This is the starboard aft berth area.  The headliner has been trimmed since this photo was taken.


This is the port aft berth.  All trimmed out.


This is the head.  Still need to trim and decide what to do to hide the electrical wiring in the corner.


I also finally got around to wiring the navigation lights.


Last weekend, I decided to reinstall the gas tank.  I put the fuel line bulbs in the cavity in the stern.  They will be accessible from the cockpit so it is not necessary to lift the lids that are going to be over the outboards.


I also decided to change the impellers in the lower unit of the outboards.  I was successful, but in doing so, I removed the gear rod and could not put it back without removing the prop shaft.  They are now at the outboard mechanic!  When they get back, I will reinstall and try to start the outboards, although it is likely I will have to clean the carbs.


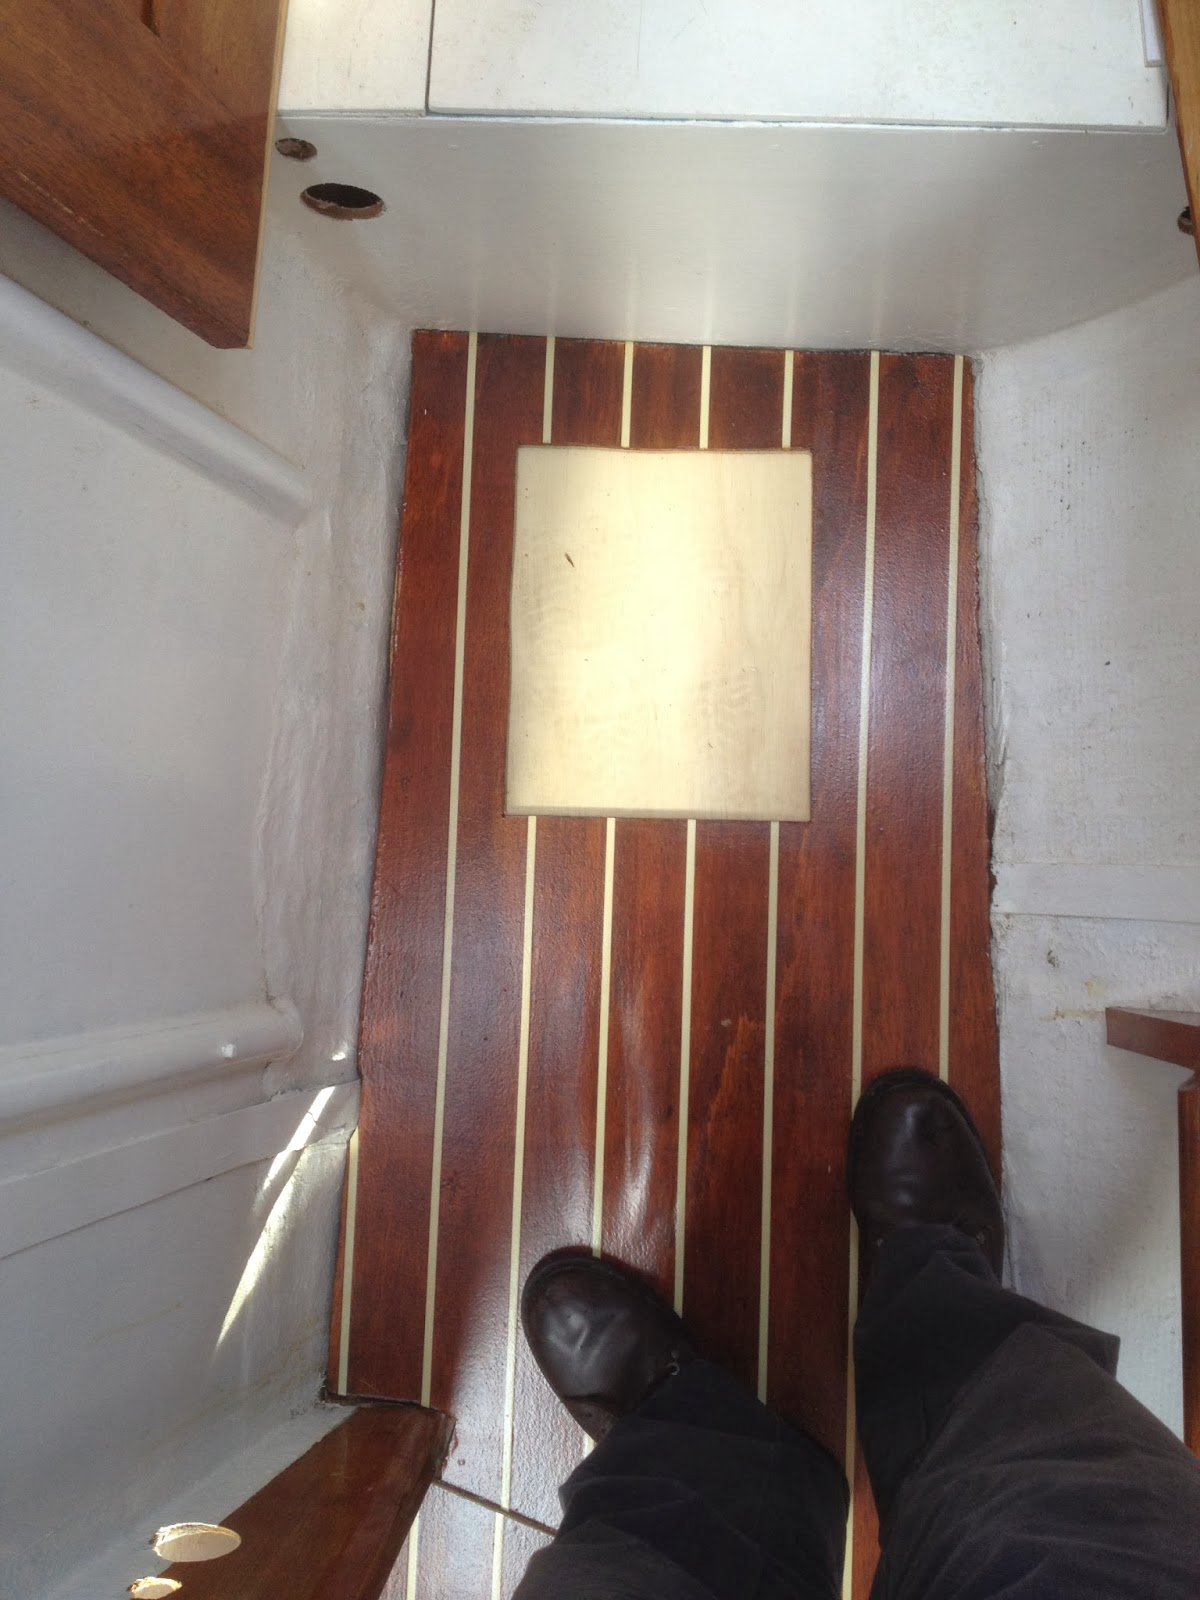
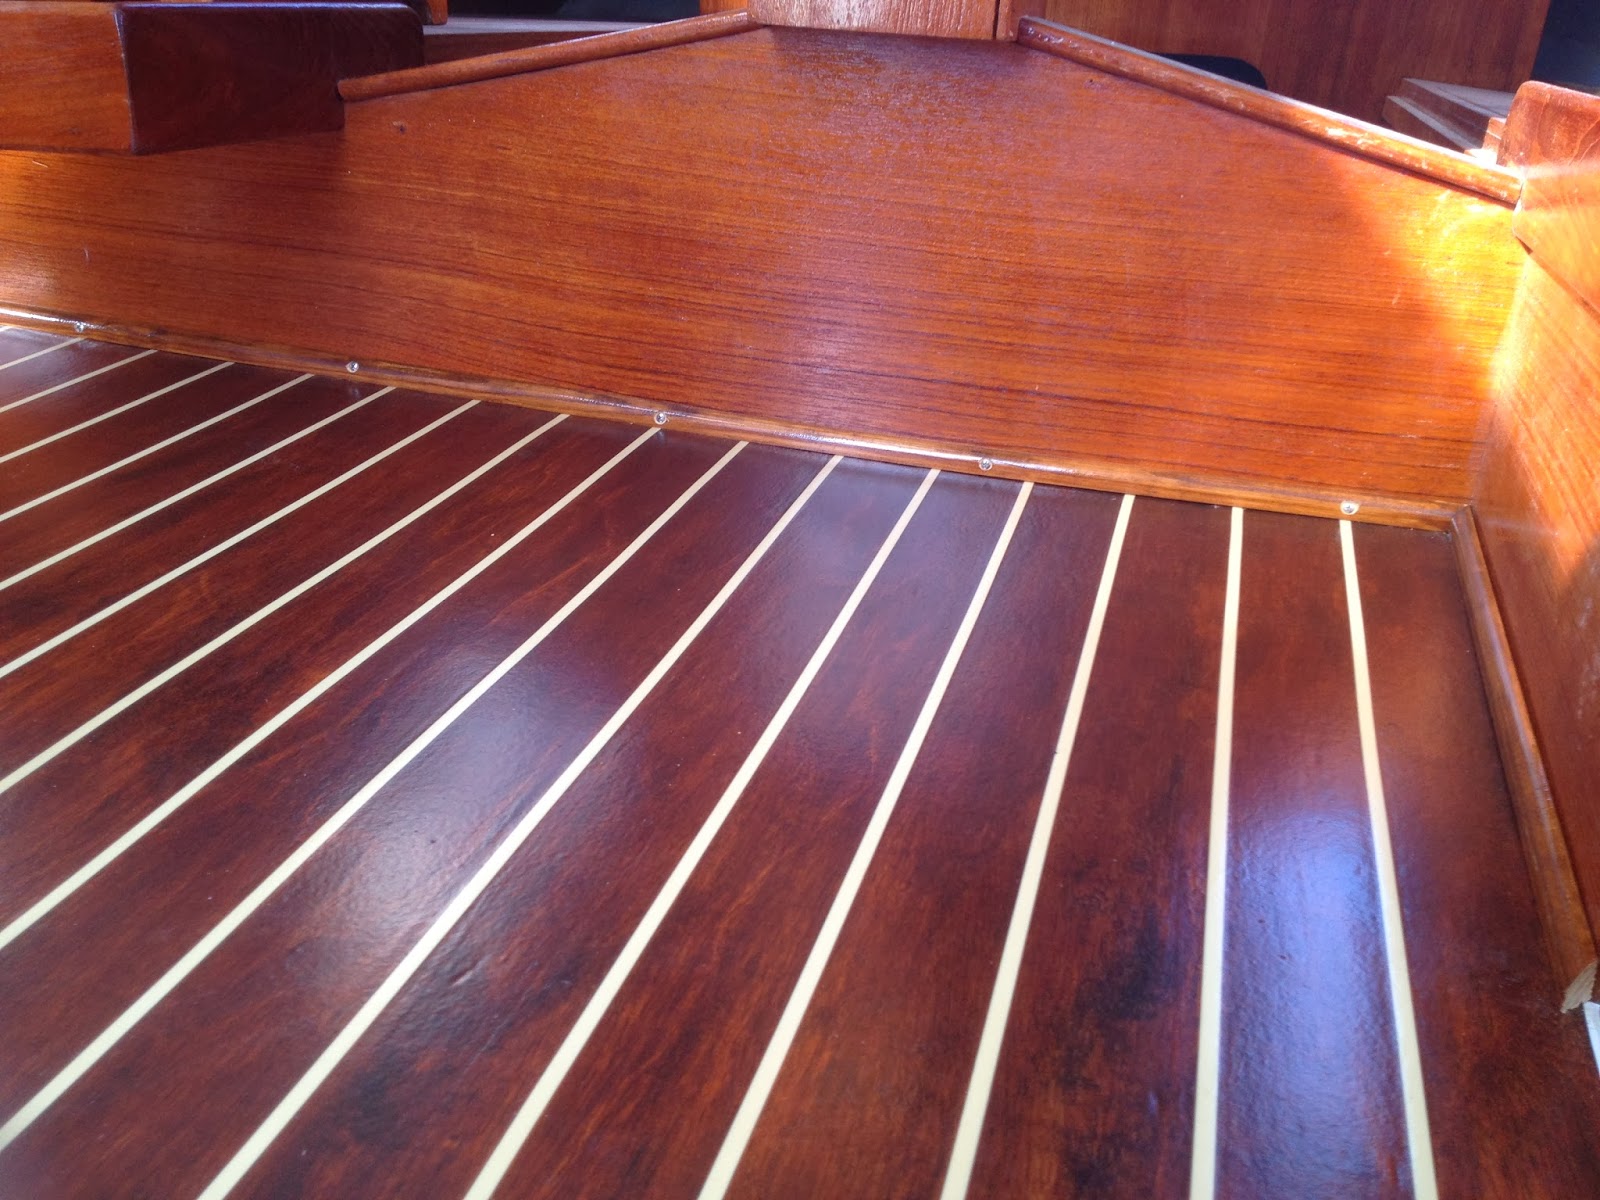
This weekend, I reinstalled the main cabin sole.  The sole was still a little spongy feeling, so I decided to add another piece of plywood below.  So now I have 2- 1/4" pieces of plywood glued together and that did the trick.

I could not have put a 1/2" piece of plywood without making a cut somewhere in order to install it.  There are too many obstacles.  As it is I had to bend the plywood to get it in in one piece.

This is the only place I have a join.


I filled the gap with epoxy and put a piece of pin stripe over the seam.  It will get 7-10 coats so the pin strip matches the color of the others.


I also started adding the base molding  Today, I also started putting the final coats of poly on the remaining pieces of sole.  So I will probably finish that tomorrow as well as finish up the base molding.


The helm station is coming together.  I added the C-Plath compass and Raymarine instruments.  The wind display is to port, and the Tri-Data display for speed, depth, and temperature is to starboard.  The display right above the ignitions is for the X-5 SmartPilot Autohelm.  Just need to add the rest of the pieces to make it operational.

Monday, January 20, 2014

Any Leaks?

After completing the installation of all of the running rigging on the cabin roof top, I gave the boat a decent washing to check for leaks and just because it needed it!


Butyl tape trimmed and ready for lines! From left to right - Clam cleat for Main Sheet when sheet in hand is necessary. Enkes 16 - 2 speed winch. Clutches for main sheet, topping lift, downhaul, jiffy reef, and main halyard. Foot block for continuous control line for self tacking jib car, clutch for self tacking jib sheet. Lewmar 40 ST 2-speed winch. Block on lower right for asym/screecher sheet. Yes, the winch handle on the left clears, quite comfortably!


Also finished installing the LED deck lights.


Moved on to installing the VHF antennae.  The halyard exit plate is a good alternative to a hole and grommet It allows the heavy duty VHF coax to bend smoothly, while shedding rain from entering the mast.


And on the other side, the WIFI antennae/Bullet receiver.  I will tighten up the CAT 5e cable so it does not interfere with the main sail or halyard.


Started re-installing the PVC beadboard headliner today.  I also patched all of my oops divits, etc. in preparation for a final touch up paint.  Major items on my To Do List in order of priority:

1.  Install Gas Tank / Test Outboards
2.  Install Instruments
3.  Install Sole
4.  Finish Head Cabinetry / Toilet installation
5.  Install Trampoline
6.  Install Swim Deck
7.  Apply Bottom Paint / Touch up paint
8.  Final Coats of interior/exterior Varnish
9.  Finish out Starboard Berth Area
10.Install 110V wiring and Inverter/Charger.
11.Install refrigerator compressor.
12.Install LPG tank/tubing

Taking off next weekend, so it'll have to wait!


Sunday, January 12, 2014

Mast Wiring and Running Rigging

Since my last post, I spent a couple days trying to get the existing mast wiring out of the mast.  After some tugging and exploring, I finally got it out.  Also nearly completed my running rigging.  All lines have been purchased.  Just waiting for my wire to rope halyards. I decided to keep the wire, since the sheaves looked to difficult to remove and replace.


This is a photo of the existing wiring.  It somehow adhered itself to the foam mast sleeve, which made it difficult to remove. You can see pieces of foam on the wire.


And here is all of the wiring after removal!


After a couple of tries, I was able to pull the new wiring harness through the mast and exit plate.


This is what is left at the mast head.


These are the wires for the 2 deck lights.


And the wires for the steaming light.


I was able to install the steaming light. I needed to add the white buffer between the light fixture and the mast so it would conform to the mast curvature.  I used a piece of white plastic lumber.  The black butyl tape that oozed out, will be trimmed away later.


This is a photo of the mast head as removed from the mast.


This is the mast head with the new LED anchor light, wind transducer and Davis wind indicator.


Spent quite a few days installing the running rigging.  I used some various lines to mock up and place the clutches and fairleads.  The fairleads were placed on top of a piece of white plastic lumber to keep the lines off of the roof.


This is an example of the white lumber I used.  The corners were rounded off and a bevel was routed along the top edges.


Butyl tape was used under all of the rigging. I will trim it away once it has finished oozing out. Ignore the tags on the clutches.  They need to be removed and replaced with the appropriate tag.  The foot block is for the continuous line for the self tacking jib.


This is one of the deck organizers showing the butyl tape.  I did not skimp on the amount I put on!!


Here is a photo of the rigging on the starboard side.


And the self tacking jib rigging.  Note the piece of plastic lumber below the track.  I cut it to give the track a forward cant.


Finally, the port side for the jib and skreecher halyards.


Next week I will check for leaks.  I can't imagine there will be any with the amount of butyl tape I used, (knock on wood).