Tuesday, May 28, 2013

4000 Views and Goodbye Gray

This week, my blog surpassed 4000 views.  Most likely the same 10 or so people! LOL.   In the midst of painting.


Here I am prepping the deck for a coat of prime-kote primer.  I sure have gone through a lot of this blue painter's tape on this project.

All hardware has been removed, except for the jib traveler.  I could not get any of the screws/bolts to budge, so I just taped it off and painted around it.


Alluding to the title of this post, all the gray has been painted over.  OK, the gray in the anchor locker is still there, but that will get a couple of coats of bilge paint when I get around to it.  It seems that most Iroquois were painted an offsetting color, so I am pretty sure the gray was original.  Oh well, not really my style.


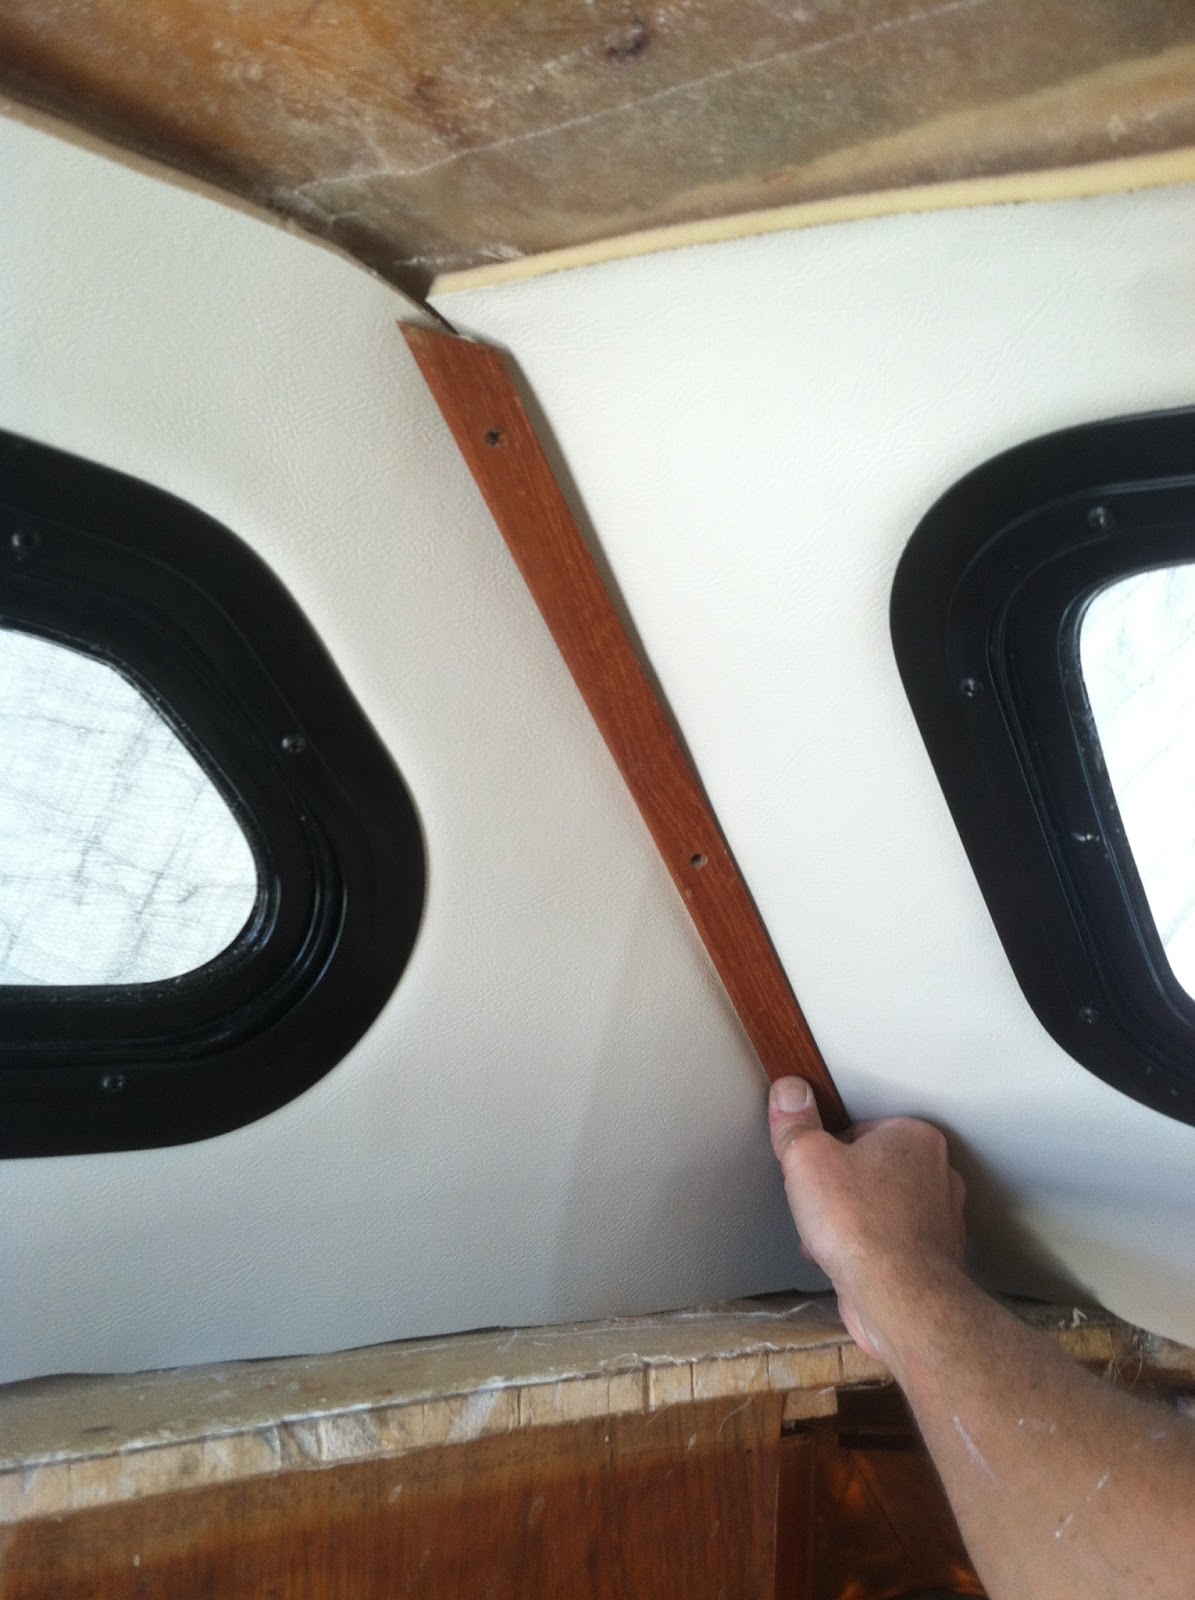
If you recall, I deliberated between removing the existing window frames to  have them powder coated black to match the new windows or leave them and paint them insitu.

Well the picture answers the question.  The frames were not budging much, so I decided to leave them.  They are adhered pretty, well, so I don't think it is the route of any leaking.


Masking the frame was quite a tedious task.  I bet it took about 3 hours total, if not more!


Here is a shot after painting a self etching primer on the aluminum frame.  I ended putting 2 coats.


Same shot, just a close up.


After a couple of coats of paint.  If you look closely you can see the masking coming away.  I am not sure if it is the "purple" painters tape (not 3M) that I bought at Home Depot or what, but the tape was not sticking with the wind beating at the brown paper.  Unfortunately this lead to quite a bit of overspray that I did not notice until I removed the masking.  It all came off with a bit of paint reducer.  So much for all that tedious work!


And the finished product.  I want to put a tint on the window at some point.


And from the side.  This angle kind of shows the black out effect I am going for.  I ended up applying 2-3 coats of black satin, but I did not think that it matched the new windows, which had a bit more gloss to it. So I went and bought a semi gloss black and applied 3 more coats.  Hopefully it will hold up for a while!


Didn't forget the screws.  I guess I could have gone out an bought some new black ones, but what the heck, Reuse, Recycle.  Laid the screws in a piece of Styrofoam and applied etching primer and a few coats of paint.


So now that my window frames are all black, I thought about how the chrome port holes would look.  The exterior frames were tarnished and would need re-chroming, so I decided to go ahead and paint them.  If I don't like it, I was still going to get them re-chromed.  We'll see.


For the rest of the week, I will continue with laying down the first of 3 coats of Interlux on the deck and cockpit.  In the coming weeks, the rest of the boat above the rub rail, will likely get one more coat of Interlux to meld everything together and finally, a non-skid will be applied.

I ordered some Dow 795 sealant for the old windows.  Hopefully I can get to that this week.


Thursday, May 23, 2013

Boat Arch

My stainless steel boat arch was delivered today.  I am very happy with the work.  The cost.... well that is another thing!  Remember, B.O.A.T.  If you own a boat, you know what it stands for!


The main reason for the arch is to remove clutter from the cabin.

Here is a shot from aft.  The main sheet traveler will be placed on top of the arch.

I originally was going to put my radar scanner on top, but I wanted the top of the arch to go under the boom.


I incorporated a bench seat to move people out of the cockpit area and provide more seating.

I will likely use some plastic lumber in a teak color.  Probably slats similar to a park bench look.


I really like the forward slant of the arch.  I ended up going with 1.75" diameter tube.  Sturdy enough to add davits later, if I so choose.

It also provides a mass that I think balances out the mass of the raised cabin area.


You may have noticed in the previous picture that I got around to putting a primer coat in the cockpit area.  Prior to that, I added some vinylester resin to the channel that surrounds the cockpit floor.

The copper scupper holes are proud of the surrounding area by about 1/8".  This leaves standing water and debris.  So I decided to lay the resin in order to limit the amount of standing water.


This week I also placed an order for some teak veneer plywood and teak molding so I can make more progress on the interior.  What did I say about B.O.A.T.?  Oh well, at least I made it down to the West Marine store that is closing and got 75% off on some 8/2 AWG wire.  Bought 50 feet.  30 feet to run to the electric toilet in the head and 20 feet to run to the refrigerator in the galley.  I think I paid $.75 a foot.  I also bought 30 feet of 2 AWG for about $1.25 a foot.  Unfortunately all they had was red.  I bought that to run to the forward deck for a future windlass.

Saturday, May 18, 2013

Painting and Window (Port) Install

Friday morning I spent a few hours sanding in preparation for my first coat of paint on the lower cabin area.  I also started installing the windows on the raised cabin roof.  Around 10:30 I pulled myself away from the project to take my Ericson out for a sail.  Very nice day, 5-6 knots going and coming back.


Laid one coat of the Snow White paint, since I have half a gallon of it.  The next two coats will be Oyster White.


I purchased a badger hair brush to tip the paint.  It came out better than my first attempt at roll/tip, but the jury is still out as to if it is better than roll/roll method.  I did not use flattening agent with this coat.  I am pretty sure I am going to flatten the remaining coats.


I had some paint left over, so I decided to paint the storage lids.


I did not use a primer, because I did not want to waste the paint, which only has a pot live of 4 hours.  It actually covered the gray paint pretty good.  Still need to fill in the defects and sand prior to the next coat.


              New window installed.


Shot of butyl tape oozing out.  Once I cut it back, I will tape off and apply some black Dow 795 sealant for a nice finish.


Started installing foam backed vinyl "headliner".  The roof will get a PVC wainscot.


The liner is temporarily held in place with 3M spray adhesive.


At some point, I will install teak molding.  This is a piece from the previous headliner.   I need to buy some more and varnish it.  Need to make a trip to the lumber yard soon!

I think I will wait and varnish the new molding at the same time I decide to varnish the teak rub rail and then install it.


With daylight savings time, I have been trying to do more after I get home from work.  I decided to paint the 2 forward storage lockers with bilge paint.  This is after 2 coats.  The plywood floors need one more coat.  I also wanted to get this done before I start wiring the navigation lights that will go on the hull.


Speaking of wiring, here is a small sampling of my wiring collection.  I have been buying wire at various boat rummage sales over the last year.  The West Marin store in Huntington Beach is going out of business, so I have been getting the bulk of the wire there.  The wire is now 75% off.  Just need to buy some heavy gauge wire for the head and fridge.  I may even buy some for a future windlass.  Because of the long run from the battery bank to the windlass, I will likely need some 2 AWG, which can be quite expensive.  May as well buy it now and install while the boat is accessible.

I have already run the 2 AWG from the battery area, through the chase and to the helm area.


Here is the electrical schematic I came up with.  I already bought the different color wire to match the colors on the schematic.


That's all for now!


Saturday, May 11, 2013

Windows and Priming

Spent most of the week deliberating on whether to remove the existing windows or not.  If I removed them, I would have also looked into powder coating them black to match the new windows.  I was able to remove all of the bolts that hold the window in place, but the frame seems to be adhered to the boat pretty well.  I had visions of bending the frame and creating another problem.   Even thought others had removed theirs successfully, I decided to leave them in and work around them.


Here is a shot of the existing windows. I removed all of the caulk, or whatever that red bedding is.  The front runner for resealing/rebedding the glass is Dow 795 silicon sealant in a black color.


I am going to spray a self etching primer to prep the aluminum and then paint the frames a satin black.  This is the same color I used to paint the cabin top hatches.  I think they will match pretty well with my new windows on the raised cabin roof.   This will get done once the fiberglass, around it, is painted.


Speaking of which, I place a 2-part primer on this part of the boat today.  I have 2 quarts of the snow white left over, so I am going to use that for the first coat and then follow up with the oyster white.


After I applied the primer kote, I filled in all of the pin holes with the Interlux putty.   Mothers Day is tomorrow, so not sure if I will get much done.  Need to take some more time off of work!


BTW,  Interlux Perfection does not like moisture, so cover up your work if a dew is expected.  This happened to me after the paint had cured for about 6 hours.  The dew flattened the gloss to a dull finish.

The stainless steel arch is supposed to be done next week, so stay tuned!


Sunday, April 28, 2013

Passes the 5 Foot Test

Since I was having issues with brush marks, I opted to use the roll/roll method.  I have put down 3 coats on the raised cabin and part of the extended stern in preparation for the boat arch.  Its a toss up.  When I used the roll / tip method, I think I got a smoother finish, but with slight brush marks.  With the roll / roll method I got a slight texture, but no brush marks.  I think for the raised cabin, I am going to live with it.  As the title says, it passes the 5 foot test (looks good from 5 feet away).  I want to put one more coat of paint on the raised cabin and then I will install the windows and hatches.  I will experiment one more time with the brush on the next level down.  I really want the topsides to look better than the results I am getting now.

I took these photos a little late in the day.

This shot is to show the tarp I added to shield the sun to allow the paint to cure a little slower and have a better chance to level out.


Five Foot Test?


The original cabin roof will get a coat of non-skid.


Decided to tackle another project, while the paint dries.  I started building the chase for the electrical and motor control cables.


I tabbed two pieces of wood to the fiberglass since there is no other way to fasten it.  Then added a piece of 1/2" plywood.


Here is the strip of wood tabbed to the fiberglass.   You can see the patch job of the holes I filled in the gunwale.

This will all get covered with a thin piece of material from the top to bottom and ultimately covered with foam backed vinyl.


Another view looking straight on.


This shot shows after I added a second piece of plywood "floor".   This will all get boxed in.  I just want to be able to easily remove to get access as necessary.

Right now, it houses the two steering cables, 4 outboard throttle/gear cables, and 2 outboard cables for the electric starter.
I will also need to accommodate 2 battery cables and some small gauge wires for stern light, etc.  The existing small chase is still usable for the smaller wires.


Oh almost forgot.  I ordered 4 more quarts of Interlux Perfection.  I was shocked when the paint arrived as the color was Oyster White, not Snow White.  Evidently I checked the wrong box, when I placed the order on-line.  What is ironic, is that I had been contemplating changing the color, because the Snow White, was just too glaring.  Possibly a sub-conscience thing.  I used it for the last 3 coats, and I like it!  You really have to put the two colors side by side to tell the difference.  Three day weekend coming up.  Hope to keep making progress.


Sunday, April 21, 2013

Interlux Perfection is Kicking my....

I am not getting good results with Interlux Perfection.  I am using a pretty decent brush (Corona, but not badger hair) with mixed results, none of which are stellar.  I have read were some have had good success with just rolling and no tipping.  This is done with a very thin coat and a high density foam roller, which is what I have been using.  One thing I have not been doing is wiping down the surface with a solvent and I have also been applying in direct sunlight.  My next go round, I am going to do that differently and see what happens.  I really need to perfect this before I move on to the topsides!

Here is a picture of my 2 port holes that I removed to clean up and in preparation for painting.


I wish I had taken a "before" picture.  This is the side that was protected from the elements, but they definitely needed a good cleaning.


This is what I used to clean them up.  I think the port holes are actually chrome plated and not stainless, but this did the job.


Unfortunately, these are the outside part of the frames that were exposed to the elements and could not be revived.

I will look into the cost to chrome plate them.


While I was at it, I decided to clean up the stanchions. This picture is with the cleaner on.


Here is the steering wheel I just bought on ebay.  I decided to take it apart and clean as well.  The teak accents will get varnish when I get around to that part of the job.


Sunday, April 14, 2013

First Coat of Interlux Perfection

Yesterday, I applied my first coat of Interlux Perfection (Snow White).  This was my first time using the 2-Part paint.  The paint delivers a high gloss finish, but I decided that I did not want to draw attention to any imperfections, so I mixed it with the flattening agent at 1:1.   This ratio is supposed to result in a semi-gloss finish.

I think this ratio thinned the paint out as the coverage was fairly transparent.  Looks like it will take 3 coats.  I used the roll and tip method using a high density roller.  Not sure if I am pleased with the brush marks, I "think" I see, but again it is hard to tell given the transparency of the paint.

Not much to see in the pictures, but wanted to show my progress.  This is after sanding in preparation for the second coat.  I think I am going to cut the flattening agent in half on the next coat to get better coverage.  I will apply the non-skid on the third coat.  It was overcast this weekend, so I can't really gauge the gloss factor.  I can adjust on the 3rd coat.

The 3 lids for the stern extension.  I think I will be happy with these, once I put the non-skid coat.

By the way, I keep forgetting to mention that if you click on the pictures, you will be able to see them better.


I am happy with the "join" to the stern. It is pretty seamless.  I had some extra paint, so I extended into the cockpit.


You can see the fairing mix still visible after the first coat.


Extended the paint to the original roof. My goal is to finish this area and install the windows and then move down from there.


Close up of helm station.


Not much to say.  I think it is going to turn out pretty good.  I keep reminding myself that the guy on the video said not to be too expect great results with the first coat.  It gets better after the 2nd and 3rd.


Top of cabin roof.  The forward 2/3 will receive non-skid, while the aft 1/3 portion will not.  I want to discourage any walking on the aft portion.


Here is a shot of the stern extension area after I applied a primer coat and sanded down with 220 grit.  There are quite a few pin holes.  I just ordered some surfacing putty.  I am going to try some of that to fill in the pin holes, instead of mixing a batch or resin.


Here are the 2 holes from the bathroom filled in, primed and sanded.


I decided to prime and paint the frames of the 2 ports that will go on the new roof.  They were used and showing signs of paint fading.  I used an etching primer and several light coats of semi-gloss enamel.   Not sure if I will do the same for the original window frames.  I will be removing them and "rebuilding" them, so I may end up having them powder coated black, once I check on the price.  I am thinking that would last longer than etch prime and paint.


Here is the corner of my office.  This is all of the stuff that is just waiting to get installed. Electronics, ports, helm chair.  The big roll is the headliner.  I will actually be using it for the sides walls.  My plan is to use a PVC bead board material to line the roofs.