
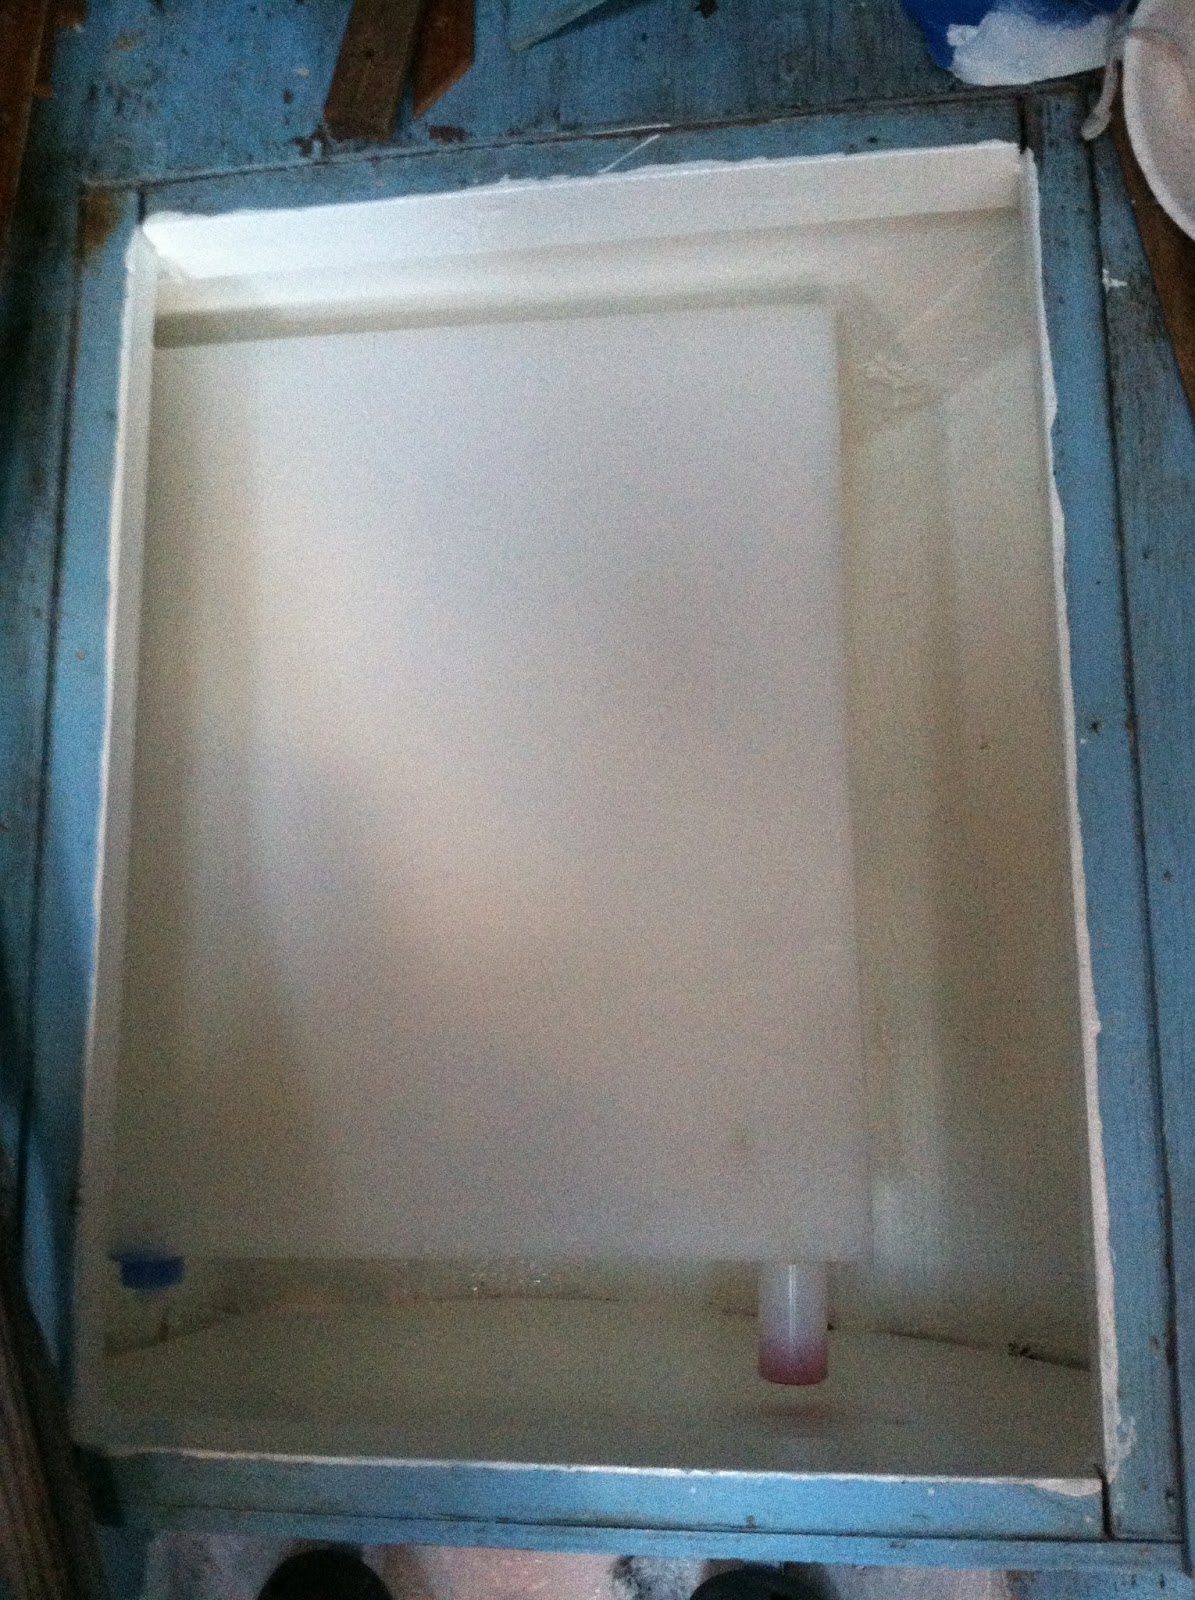
This is after the first coat of bilgekote. I ran out so I went to West Marine to get a gallon and they did not have it in stock, so I had them order it. Did a price match from Defender and was told that WM would stop doing that on March 1. Oh well, guess I will be ordering on line. Need 2 more coats.
I decided to drill a 7/8" hole in the "joists" to feed my 1/2" water hose through. Most would just lay the hose on the bottom, but not me!
The berth storage areas have had 3 coats of paint, so I decided to dry fit the water tanks. By the way, these are 10 gallons. I previously stated they were 9 gallons. This is the forward port berth area.

This is the aft port berth area. I will need to secure them in place once all of the hoses are attached

Decided to move to the starboard side and start the same process of prepping for plumbing. I found the same lifting rings. You can see the 2 on either side of the threshold to the starboard berth area.

Here is the rest of the floor removed.

I also decided to start prepping for the primer coat on the new fiberglass and deck. So I started unbolting everything off of the deck. Here is a shot of one of the cleats I removed. I had my eye on some nice shiny SS cleats, but opted to save my money and just clean these aluminum ones up with my dremel.

Since I am getting close to putting a primer coat on the deck, I decided I better start sanding the teak rub rail now. Also in this picture you can see the area where the extended hull was added by the factory. I have expanded the fairing to a wider swath and honestly I could go even wider, but it is subtle enough.

A close up of the same area. I finished the port side today. It went fairly quickly with my orbital sander, but had to do touch up some areas by hand.

This is a shot looking down on the teak rub rail about mid way, where the factory joined 2 pieces together. A gap has developed over time and can't just be sanded out.
What to do?

I tried to push as much as I could in the crack from all sides. The screw and washer is used to close the gap. If you look closely, you can see the resin mix oozing out. I will let it sit for a few days and then remove the screw to see if it holds. If not, Plan B?
Update: 3/3/13
Removed screw/washer and sanded down.

The epoxy mix held! Left quite a noticeable mark, thought. Sawdust didn't quite do it. Need to think what I can do to make that less noticeable.
Hi
ReplyDeleteMy name is Matz and I live in Sweden. I have an Iroquois with the same type of teak rail with the joint like on yours. I will try to fill it with black sicaflex before sanding it. It will leave a black line, I got the same fill between the planks in the teak deck for the cocpit area as well. Sicaflex will look good and professional on teak joints (IMHO)
Good luck//Matz
Thanks for the comment Matz.
ReplyDelete