Last week, I re-installed the lower units to the outboards and decided to start them. Both started and respond to the new Teleflex/Morse controller. I really did not expect them to start without cleaning the carbs. I have decided to call in an outboard mechanic to give them a once over while the boat is on the hard, just to be safe. That is pretty much my last big unknown for launching the boat.
I also sanded and applied 2-coats of varnish on the teak rub rail. Got around to taping off the area adjacent to the deck so I could lay a nice bead of Sikaflex caulk, but was not able to lay the caulk due to rain.

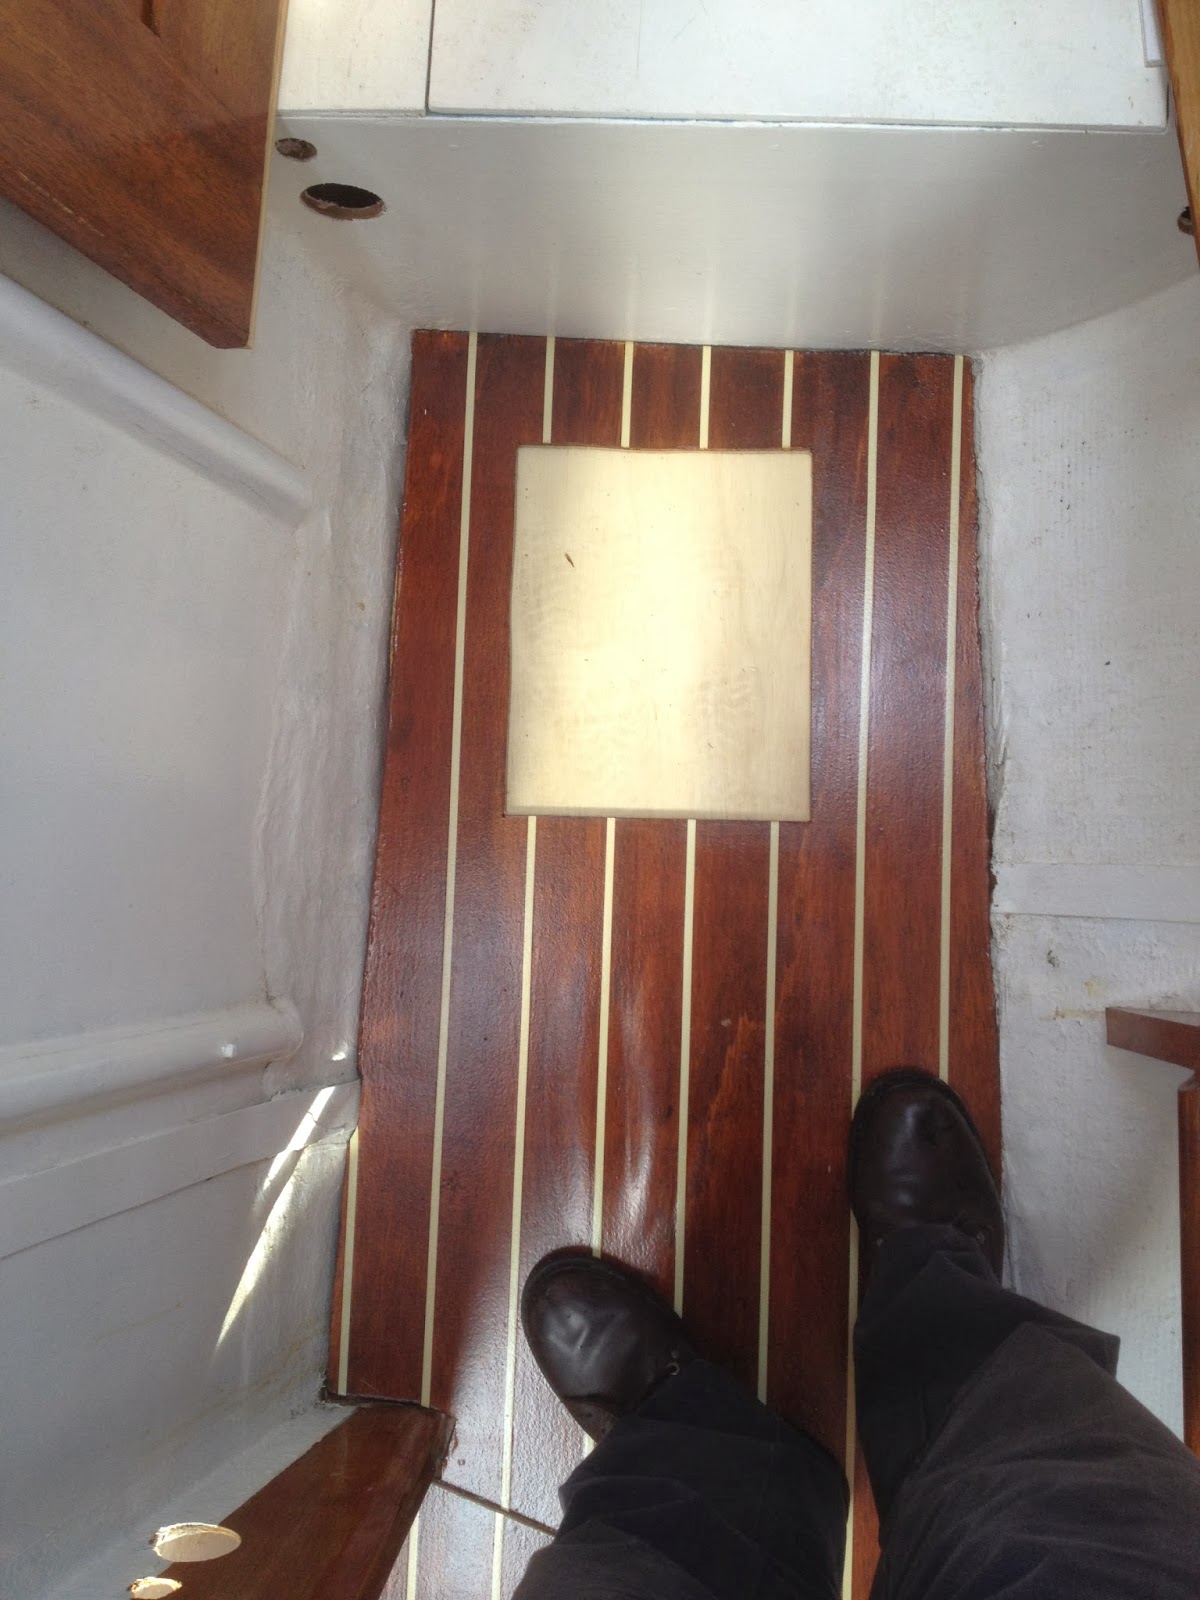
I also made some more progress on installing the soles in the two hulls. This is a shot of the head. The sole is just dry fit for now. I need to tweak the teak grate a bit that was installed by the previous owner.
This is a shot of the sole at the forward port berth. I installed another layer of plywood below as with the main cabin. I need to cut out the hole in the lower piece of plywood and this will become an access point to the cavity below the sole.

Okay, this is upside down, but good enough. This is the galley area. I will have two access points. The one to the right is where the bilge pump is located.
More work to do with the soles, but may get finished after launch.

This weekend it rained every day, so I had to time what I could do. While it rained, I installed the hardware back on the storage lids.
This is a shot of the masthead. I added the block shown for the screcher/asym., in order to get the halyard above the forestay. A few months ago, I purchased a tap an die set and it has come in handy for things such as this. I guess I could have riveted it in place, but I am not confident in my rivets as a structural component.

This is a shot of the masthead topper installed. I also wired the wind indicator and mast head light.
I also installed the 3-halyards and topping lift internal to the mast.
The various stays and halyards are ready for travel.

This is a photo of the base of the mast showing the lines and wires hanging. I still need to install the exit plates, but again that is something that might fall victim to time and installed on the water.

A few weeks ago, I decided to learn how to do an eye splice, from a video on You Tube. I am pretty pleased with my results. I also used some wax thread to lock it in place. Had to buy a leather palm and some good needles, though.
Well that's it for now. Whittling down the To Do List. It will be a busy month of March. Hopefully day light savings time change will allow me to tackle some remaining items, but I will likely take a week off in April to get as much done as I can and prep for the move.
1.
2.
3.
4. Finish Head Cabinetry / Toilet installation
5. Install Trampoline
6. Install Swim Deck
7. Apply Bottom Paint / Touch up paint
8. Final Coats of interior/
9. Finish out Starboard Berth Area
10.Install 110V wiring and Inverter/Charger.
11.Install refrigerator compressor.
12.Install LPG tank/tubing
No comments:
Post a Comment