
Here is Sailcraft's recommendation. Basically 3 layers of 1.5 oz mat and 3 layers of 12 oz fabric. I had 7 oz, so that is what I used. I ended up adding an additional layer of each for good measure.

This shot is my first test with the angle sander. The disc is 60 grit I believe and is made for metal. It worked great.


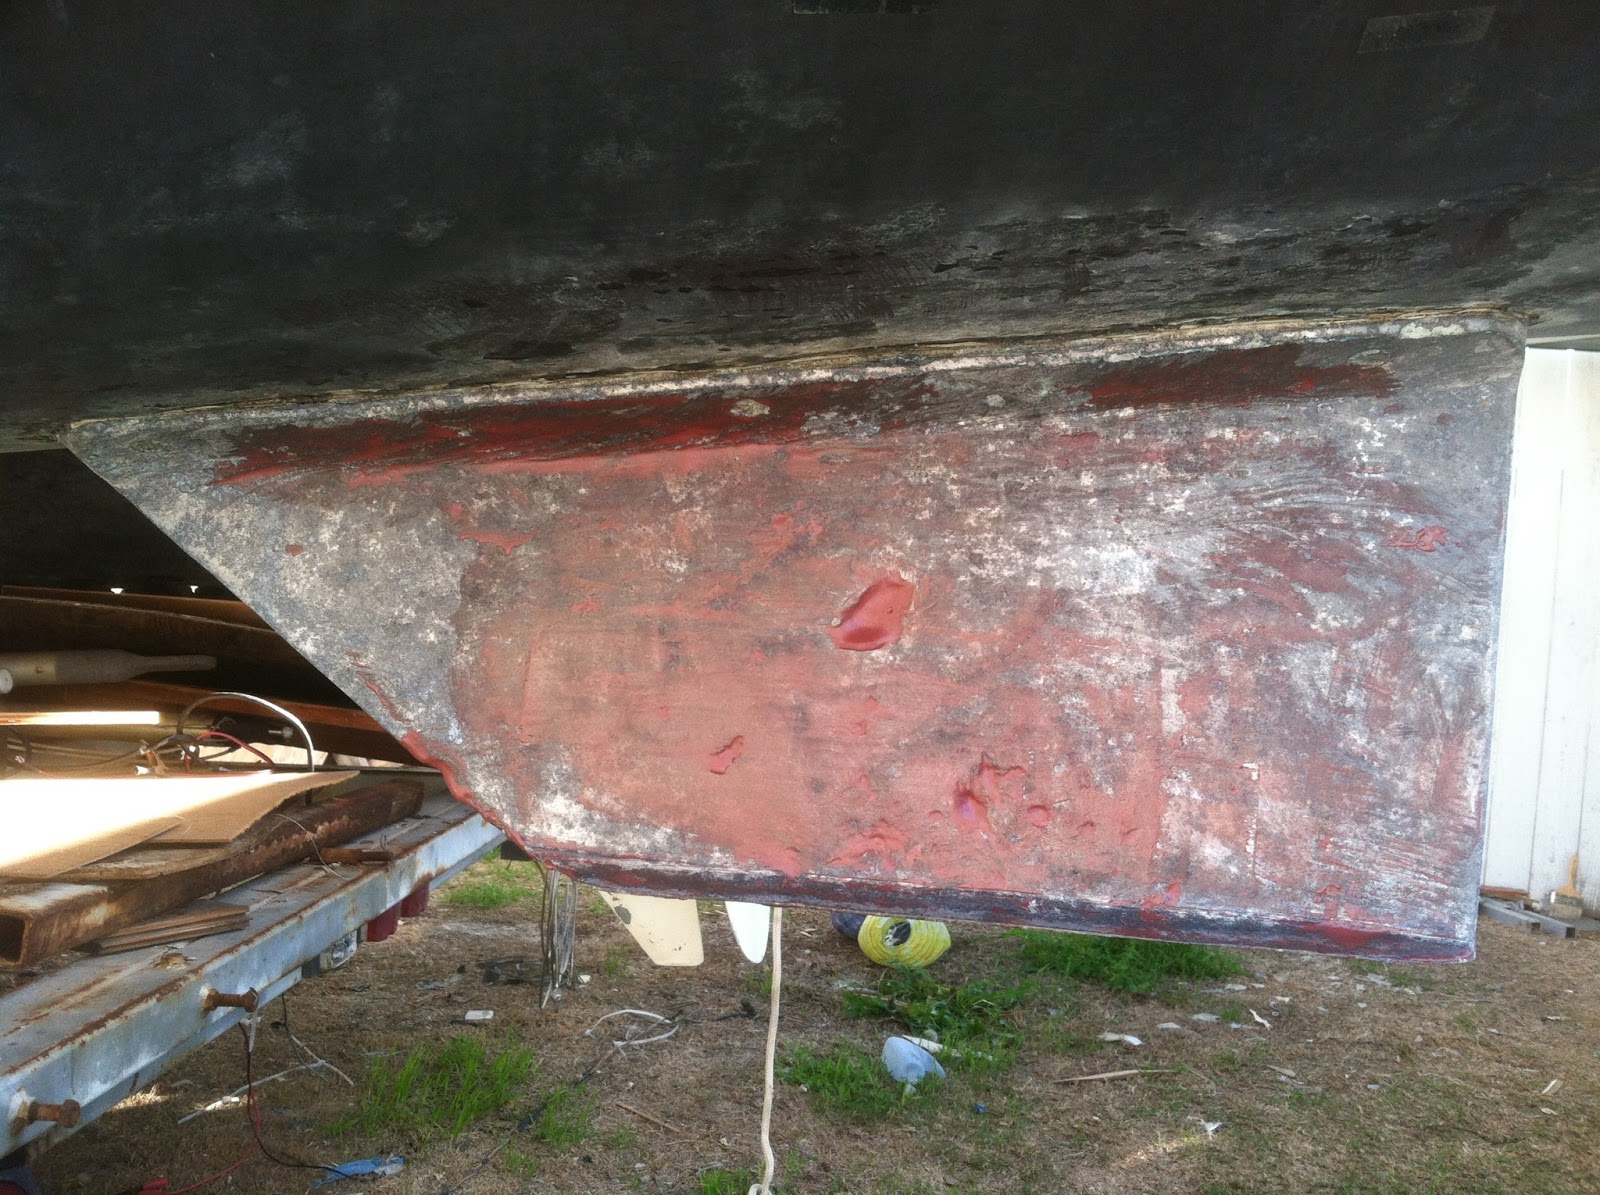
This is a different location, but I wanted show what I think was a previous repair. I am pretty sure that there was no gel coat over the brown area (fiberglass).

Before I started, I cut out all of the fabric and mat. 4 layers of each, starting at 16"x 16" square and ending at 9"x 9" square.
I used 16 oz of resin for each layup and was able to complete in one session before the resin started to kick in.

And the finished product after layup. Forward location.

And Aft.

Close up of the fabric over the slot opening. I pushed the fabric up into the slot as best I could.

And after I cut out the fabric with my angle grinder and cutting wheel. Used my multi function tool to cut the end.
I will probably sand it tomorrow and either cover with resin or fairing mix.
UPDATE: 1/12/13

Sanded and added first course of fairing mix. Perhaps one more light sand and then a bit more fairing mix, especially around the edges.
While I had my angle sander out, I decided to clean up the skegs.

There was a remnant of the zinc still on the skeg. I had to use my grinder to cut off the screws in order to remove the zinc.
The skegs were just crusty so I wanted to clean them up before I painted them.

This is after I sanded it down. It looks like the moon surface with craters and pock marks. I want to fill those in to smooth it out. Not sure what to use, JB Weld, thickened epoxy? I will post on Yahoo Group and see if I can get some recommendations.
UPDATE: 1/12/13
I had some fairing mix left over from the centerboards slot reinforcement so I used it on the skegs. It was a little too runny so I will just make one more pass.
I think I have put off the fairing long enough. I will likely start on the raised cabin and work my way down from there. Probably start tomorrow. Friday, I will be taking my Ericson out for a sail. Yeah!
Many boats in the US have taken the skegs off. In England they're probably used to keep the boat level when the boat basin is dry (sitting on the bottom). They also obviously offer some protection to the rudders from grounding but at the cost of having to repair the skeg instead of the rudder. Do your rudders kick up like most? There's probably some hydrodynamics involved wherein the skegs smooth the water flow over the rudders but since the skegs on our "Teal" are gone I have to say you probably don't really need them.
ReplyDeleteYou could repair using a filled polyester if you want to use the same as original or you use a filled epoxy if you're more comfortable w/that. The general rule is that epoxy sticks to polyester but polyester doesn't stick well to epoxy. Marintex is an easy to use epoxy filler available at West Marine.
ReplyDeleteThe skegs are aluminum. I have been using vinyl ester resin for all of my projects. I assume this is will work on aluminum, as you stated you use epoxy on your car instead of bondo.
ReplyDeleteMy rudders do kick up, but I am going to leave the skegs on. I may opt to anchor on the back side of Catalina in shallow water.