Sunday, April 21, 2013

Interlux Perfection is Kicking my....

I am not getting good results with Interlux Perfection.  I am using a pretty decent brush (Corona, but not badger hair) with mixed results, none of which are stellar.  I have read were some have had good success with just rolling and no tipping.  This is done with a very thin coat and a high density foam roller, which is what I have been using.  One thing I have not been doing is wiping down the surface with a solvent and I have also been applying in direct sunlight.  My next go round, I am going to do that differently and see what happens.  I really need to perfect this before I move on to the topsides!

Here is a picture of my 2 port holes that I removed to clean up and in preparation for painting.


I wish I had taken a "before" picture.  This is the side that was protected from the elements, but they definitely needed a good cleaning.


This is what I used to clean them up.  I think the port holes are actually chrome plated and not stainless, but this did the job.


Unfortunately, these are the outside part of the frames that were exposed to the elements and could not be revived.

I will look into the cost to chrome plate them.


While I was at it, I decided to clean up the stanchions. This picture is with the cleaner on.


Here is the steering wheel I just bought on ebay.  I decided to take it apart and clean as well.  The teak accents will get varnish when I get around to that part of the job.


Sunday, April 14, 2013

First Coat of Interlux Perfection

Yesterday, I applied my first coat of Interlux Perfection (Snow White).  This was my first time using the 2-Part paint.  The paint delivers a high gloss finish, but I decided that I did not want to draw attention to any imperfections, so I mixed it with the flattening agent at 1:1.   This ratio is supposed to result in a semi-gloss finish.

I think this ratio thinned the paint out as the coverage was fairly transparent.  Looks like it will take 3 coats.  I used the roll and tip method using a high density roller.  Not sure if I am pleased with the brush marks, I "think" I see, but again it is hard to tell given the transparency of the paint.

Not much to see in the pictures, but wanted to show my progress.  This is after sanding in preparation for the second coat.  I think I am going to cut the flattening agent in half on the next coat to get better coverage.  I will apply the non-skid on the third coat.  It was overcast this weekend, so I can't really gauge the gloss factor.  I can adjust on the 3rd coat.

The 3 lids for the stern extension.  I think I will be happy with these, once I put the non-skid coat.

By the way, I keep forgetting to mention that if you click on the pictures, you will be able to see them better.


I am happy with the "join" to the stern. It is pretty seamless.  I had some extra paint, so I extended into the cockpit.


You can see the fairing mix still visible after the first coat.


Extended the paint to the original roof. My goal is to finish this area and install the windows and then move down from there.


Close up of helm station.


Not much to say.  I think it is going to turn out pretty good.  I keep reminding myself that the guy on the video said not to be too expect great results with the first coat.  It gets better after the 2nd and 3rd.


Top of cabin roof.  The forward 2/3 will receive non-skid, while the aft 1/3 portion will not.  I want to discourage any walking on the aft portion.


Here is a shot of the stern extension area after I applied a primer coat and sanded down with 220 grit.  There are quite a few pin holes.  I just ordered some surfacing putty.  I am going to try some of that to fill in the pin holes, instead of mixing a batch or resin.


Here are the 2 holes from the bathroom filled in, primed and sanded.


I decided to prime and paint the frames of the 2 ports that will go on the new roof.  They were used and showing signs of paint fading.  I used an etching primer and several light coats of semi-gloss enamel.   Not sure if I will do the same for the original window frames.  I will be removing them and "rebuilding" them, so I may end up having them powder coated black, once I check on the price.  I am thinking that would last longer than etch prime and paint.


Here is the corner of my office.  This is all of the stuff that is just waiting to get installed. Electronics, ports, helm chair.  The big roll is the headliner.  I will actually be using it for the sides walls.  My plan is to use a PVC bead board material to line the roofs.


Wednesday, April 3, 2013

Didn't Know I had Lightning Protection

I was never quite sure what that strange copper ribbon or foil was that ran from aft to forward.  My original thought was that it was some sort of ground.  After discussion on Iroquois FB page, it became clear that it was a lightning protection system that transfers the lightning strike from the mast, down the shrouds to a ground plate located on the bottom of the hulls.  You will see in this video that I didn't even know the ground plate was there until today.  Mystery solved!


A fellow Iroquois Facebooker proved this great link that explains the different grounding systems.  Thought I would pass it on.

http://www.sailmail.com/grounds.htm

Enjoy!


Monday, March 25, 2013

Still Fairing!

Not much to post... I have been spending the last 2 weekends fairing.  On my last post, I showed a couple of pictures of my spot applied fairing mix.  Unfortunately, I did not add enough catalyzer and the mix did not fully harden.  When I tried to sand it off, the mix gummed up the sandpaper.  I had read that if you spray with soapy water, the resin would not adheare to the sandpaper.  It worked, but what a mess.  Since the actual defect areas were small and this is not a structural issue, the fairing that remained was mostly okay.  I have now placed another coat of primer and will take one more stab at any remaining defects.   I will concentrate on the areas that will not be covered with non-skid.  The non-skid should cover any of the minor defects remaining.  Trust me, at this point they are barely noticable now.

Look ahead.

My plan is to apply a 2-part Interlux paint to the raised cabin top and stern extension first part of April.  I will then dry fit the new windows and start working my way down.  I will permenately bed them in, once I am ready to apply the vinyl wall covering I purchased to go on the inside. 

I have also decided to remove the existing windows, paint the aluminum trim black to match the new windows, rebed the glass and reinstall after the surrounding area is painted. 

My new trampoline net came in last week.  That will likely be one of the last things to get installed.  My boat arch is being fabricated now, but I would like to get the stern extension painted prior to installation.  Hopefully my next update will include some pictures of my painted raised cabin top!  Stay tuned.

Sunday, March 10, 2013

Fairing and Priming and Fairing and....

The hard part about doing something for the first time is not knowing if you are doing it right or not?  When I created molds for my various fiberglass parts, I thought I would have cruised right through to the priming and painting.  Not so much.  Even those parts have put me through my paces in trying to get them smooth as silk.  Ok, I will settle for just smooth!

Last week I decided to put a prime coat on the various newly created fiberglass parts.  I knew I was not ready for paint, but I figured the prime coat would help me see the remaining "defects".   The literature for the Interlux PrimeKote, which is a 2-part epoxy primer espoused about its ability to fill in minor imperfections.  Cool!


For my first go at this, I added 25% 2333N reducing agent as suggested.  Well it actually read "up to" 25%.  The result seemed to be a little to thin.  Oh well just put it on and go from there.

I used a foam roller.

Here are the lids for the aft extension.


Here is a close up.  You can see lots of pin holes and a wavy surface.  Not so good!


After it dried, I sanded it down.  Hmm not sure if this is good or bad.  At least the valleys are filled??


My next application, I decided I would try a thicker coat of primer and only added about half of the 2333N reducing agent.  I also used a nappier roller cover in an attempt to lay down a thicker coat.

Here is the result after the next sanding.

Still not good.  I can see dimpling and other defects even though I filled more valleys.


Here is a close up after the third coat.  Imperfections are still visible.  Ugh.


This is a close up of another lid that looked better, but still can see imperfections.   So much for my hope of a miracle primer!


Only one thing to do.  More fairing.  The mix I used flowed quite nice.  I did not add cabosil this time, which may have helped.


Here is the rest of the boat, which incidentally went through at least 2 prime coats as well.  With daylight savings time, I may have time to start sanding after work and hopefully I can add one more coat of primer.  One can hope!


Here is the rest of the boat before I started fairing.  Not bad from this distance!


Sunday, February 24, 2013

This and That

Worked a lot on the boat this past week, but don't feel like I made any major accomplishments, more like a lot of small ones!


This is after the first coat of bilgekote.  I ran out so I went to West Marine to get a gallon and they did not have it in stock, so I had them order it.  Did a price match from Defender and was told that WM would stop doing that on March 1.   Oh well, guess I will be ordering on line.  Need 2 more coats.

I decided to drill a 7/8" hole in the "joists" to feed my 1/2" water hose through.  Most would just lay the hose on the bottom, but not me!


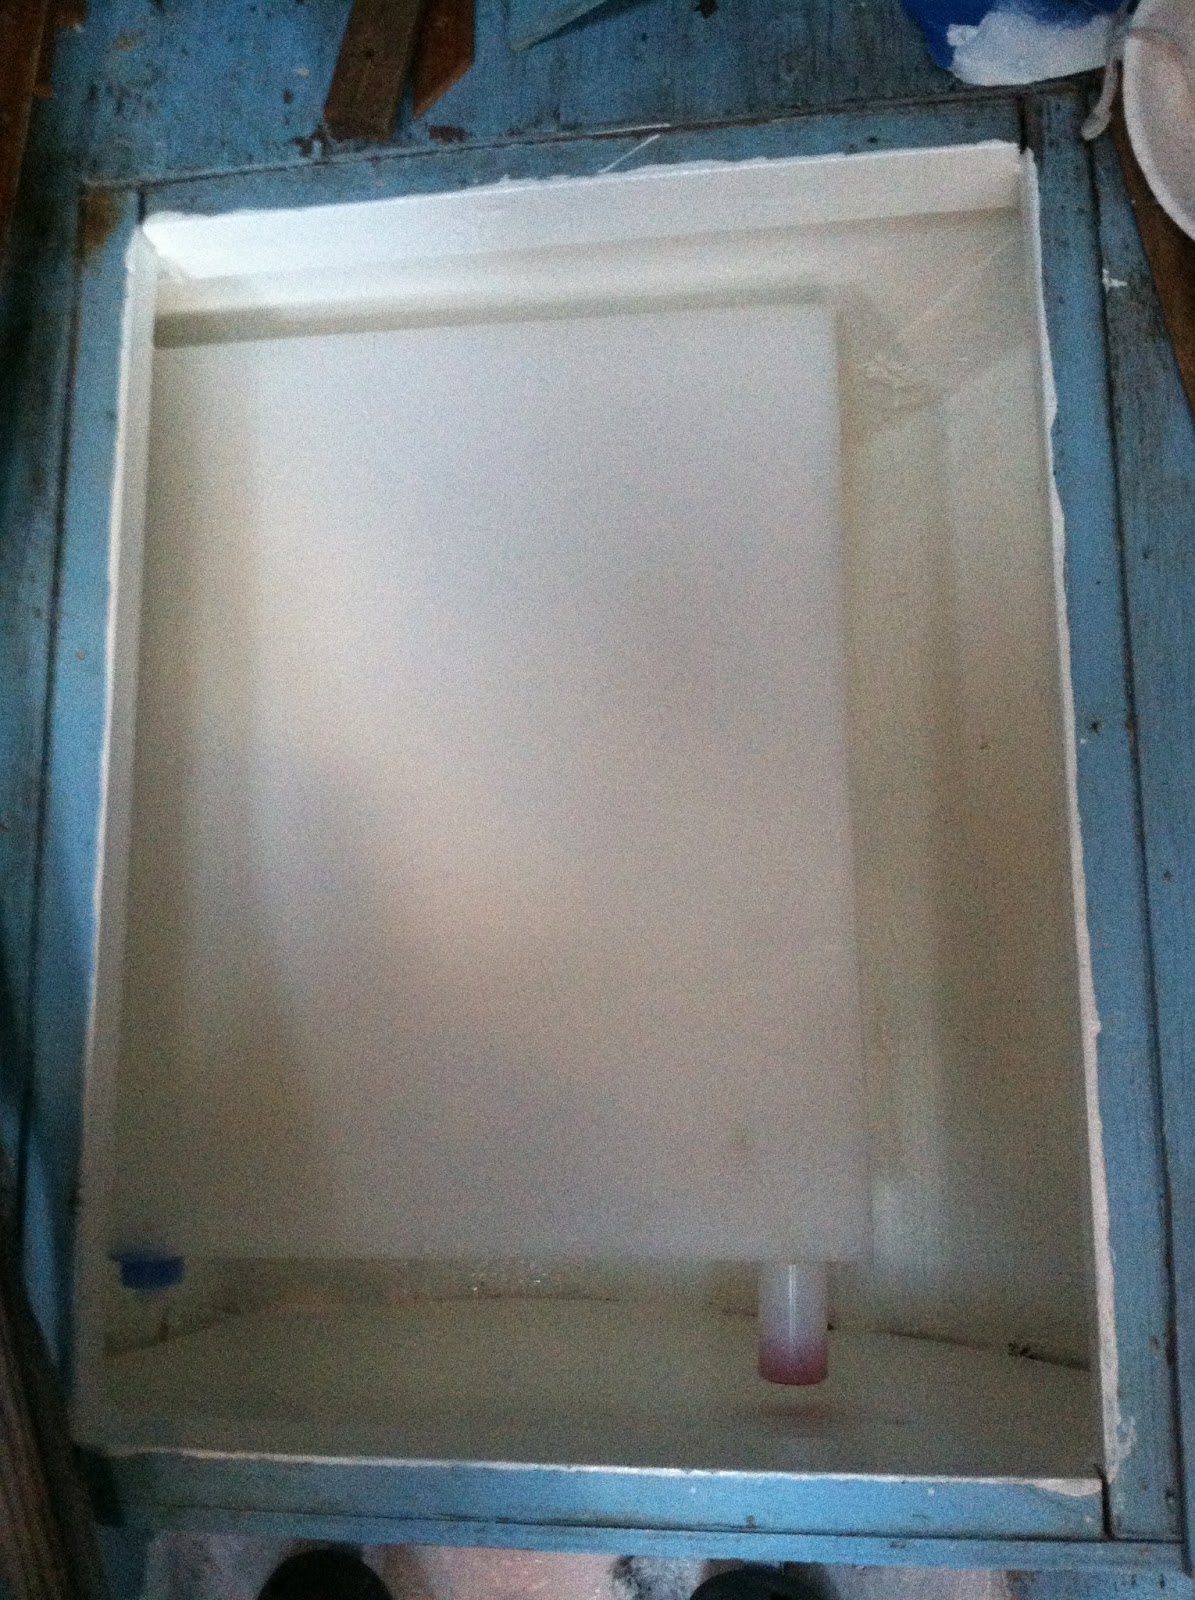
The berth storage areas have had 3 coats of paint, so I decided to dry fit the water tanks.  By the way, these are 10 gallons.  I previously stated they were 9 gallons.  This is the forward port berth area.


This is the aft port berth area.  I will need to secure them in place once all of the hoses are attached


Decided to move to the starboard side and start the same process of prepping for plumbing.  I found the same lifting rings.  You can see the 2 on either side of the threshold to the starboard berth area.


Here is the rest of the floor removed.


I also decided to start prepping for the primer coat on the new fiberglass and deck.  So I started unbolting everything off of the deck.  Here is a shot of one of the cleats I removed.  I had my eye on some nice shiny SS cleats, but opted to save my money and just clean these aluminum ones up with my dremel.


Since I am getting close to putting a primer coat on the deck, I decided I better start sanding the teak rub rail now.  Also in this picture you can see the area where the extended hull was added by the factory.  I have expanded the fairing to a wider swath and honestly I could go even wider, but it is subtle enough.


A close up of the same area.  I finished the port side today.  It went fairly quickly with my orbital sander, but had to do touch up some areas by hand.


This is a shot looking down on the teak rub rail about mid way, where the factory joined 2 pieces together.  A gap has developed over time and can't just be sanded out.

What to do?


This is looking straight on from the side.  I decided to mix some catalyzed resin with some "sawdust" of the teak, collected from my orbital sander filter.

I tried to push as much as I could in the crack from all sides.  The screw and washer is used to close the gap.  If you look closely, you can see the resin mix oozing out.  I will let it sit for a few days and then remove the screw to see if it holds.  If not, Plan B?


Update: 3/3/13

Removed screw/washer and sanded down.


The epoxy mix held!  Left quite a noticeable mark, thought.  Sawdust didn't quite do it.  Need to think what I can do to make that less noticeable.


Tuesday, February 19, 2013

Start Prepping for Plumbing

Took the Ericson out for a sail on Sunday, so no work on the Iroq.  Saturday, Yesterday and Today, I spent  filling in nicks, chips and spider cracks in the deck.  I think I just about got it.  Need to do a little more work on the stern where I removed the teak trim and then I will be ready for prime coat next couple of weeks.


One of the things I mentioned that I wanted to do was to level out the base that the existing aft stanchion sat on.  Right now it cants forward.  I want it to be straight to match the new railing I will be installing.


I used my belt sander to level the base out. I did not expect there to be a cavity!


I first filled in the cavity with catalyzed resin and then topped if off with a fairing mix.


Last week, I started painting the berth storage areas, which will be used for water tanks.  This is the port forward berth storage area.


And after 3 coats of Bilgekote paint!


Being a bit anal retentive, I don't want to see any wiring, hoses, etc. if I can help it.  I intend on running all plumbing under the floor, so off with the old linoleum!  This is a shot looking down on the bathroom to the left.  The white area is a drain pan.  I intend to drain that forward to an automatic bilge pump.  This whole area will get a few coats of Bilgekote paint.  Started that today.


Interesting what you find under stuff!  I assume this is a lifting ring (made out of rope) that is just fiberglassed in place.  I won't need that, so I cut it off with my angle grinder with cutting wheel.

There were remnants of another one in the storage area just to the right.


Here is another one in the bathroom.  There is one more on the other side of the wall, in the port aft berth area.


This is a shot of the floor in the port aft berth area.  You can see the other lifting ring.  I am only going to paint the area accessible by the cut out.  The new floor will go right on top of the existing.  I would like to go with a classic teak and holly floor, but I don't want to spend that kind of money.  I saw where one guy purchased some marine plywood, stained it to look like teak and used some cream colored pin stripe to replicate the holly, then covered it will 3 coats of varnish.  I might try that.


Tomorrow, I have a welder coming over to finalize my design for the stainless steel boat arch that will be used for my main sheet traveler.  Here is a drawing:


I was originally intending to mount the radar scanner on top as well, but even with the use of an 18" aft leaning mount, I think it was just not going to be high enough.  I will opt to put the scanner on the mast.  The arch will incorporate a bench seat to move guests out of the small cockpit area, a la Topcat catamaran.


Also ordered my trampoline net this week from Sunrise Yacht Products.  The one I have now is falling apart.


Here is what I ordered.


That's it for today